
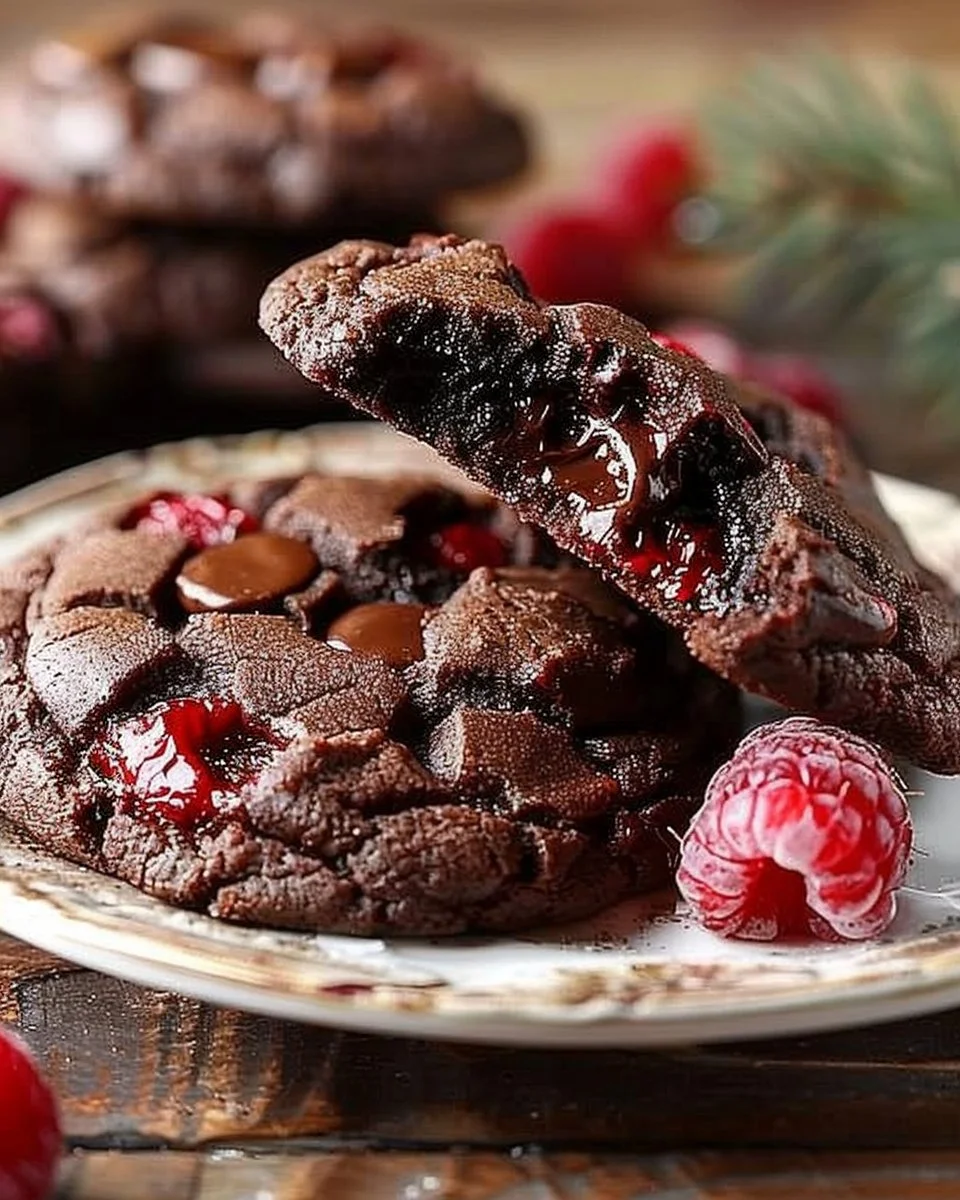
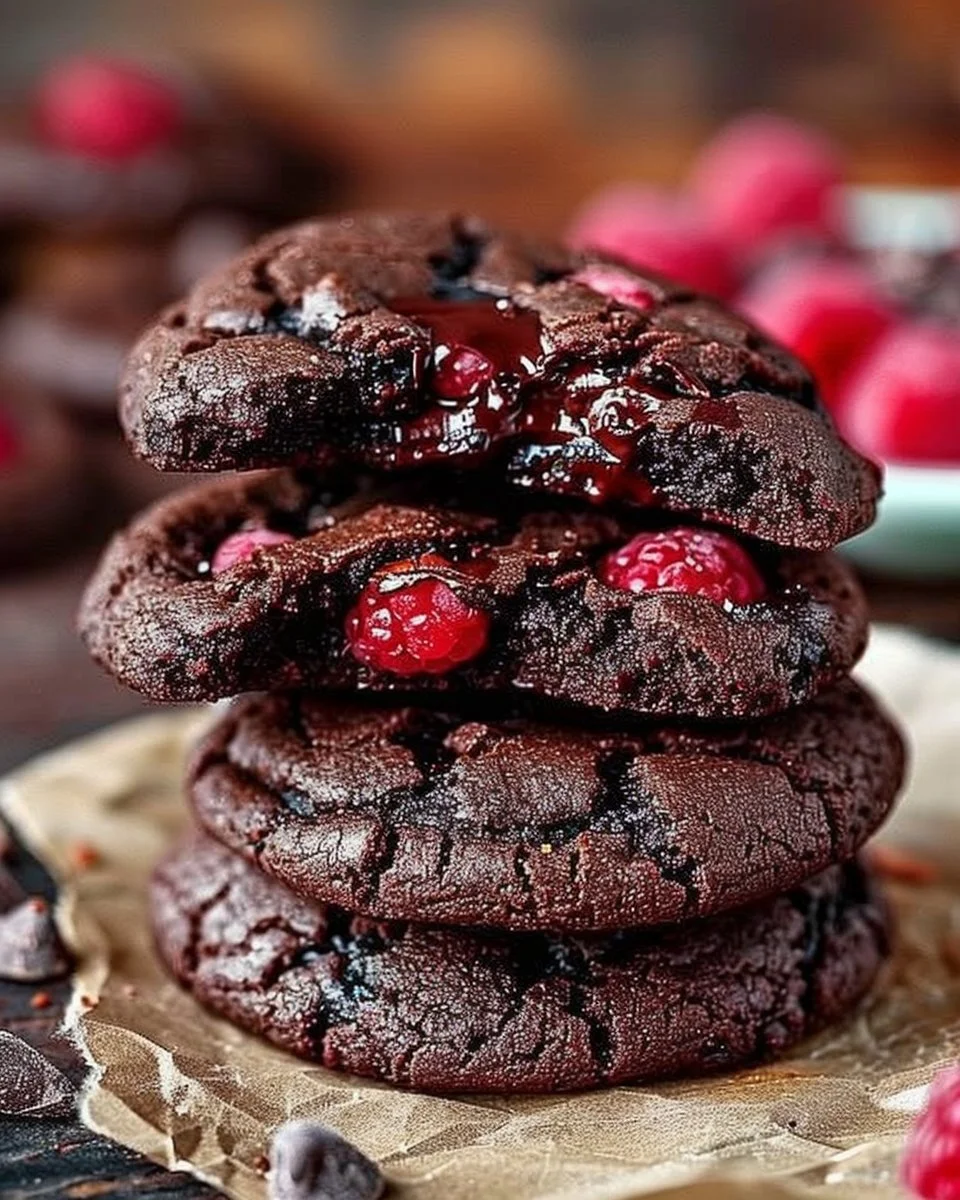
The Fudgy Chocolate Raspberry Cookies That Save My Sanity
The first time I attempted to make these fudgy chocolate raspberry cookies, it was a complete bomb. I mean, we’re talking about kitchen chaos. Flour flying everywhere, chocolate chips melting into an amorphous blob because I somehow forgot to add the flour until after I’d creamed the butter and sugar (can we just pause for a moment of silence for that poor butter?). My best friend Claire wandered in, took a look at the disaster area I had created, and chuckled, “Looks like the cookie monster came for a visit.” I laughed, but I might’ve cried a little too. Fast forward a few years, and I’m now whipping these bad boys up to soothe everything from a tough day at work to a culinary argument with my husband about whether to store bacon in the freezer or the fridge (that’s an actual debate we had once). Trust me, these cookies are now my go-to for almost anything.
Why This Matters
Honestly, these fudgy chocolate raspberry cookies aren’t just a treat; they’re a little hug in cookie form. You know those days when you’re just too worn out to think straight but need that sweet pick-me-up? This is the cookie that says, “I love you” without being too mushy or overly intense. They’re rich, decadent, and you can almost hear them whispering, “Everything’s going to be okay” as you pull them from the oven. Plus, they make a stellar gift or party snack. So whether you’re trying to impress a date or just indulging yourself (which, let’s be honest, is just as valid), this recipe has got you covered.
Before You Start
-
If you only have semi-sweet chocolate instead of bittersweet, go ahead and use it. Just know your cookies will lean a bit towards the sweeter side. Not a big deal, right?
-
The one tool that makes this infinitely easier is a good-quality silicone baking mat (or parchment paper, if you don’t have one). No one likes a stuck cookie, and this makes removal a breeze.
-
If your toddler starts melting down at step 3, just give them a wooden spoon and a bowl with some dry flour to ‘mix.’ Trust me, it buys you a few minutes of peace.
-
The exact wine to pour while cooking this? It’s definitely a glass of red while you’re waiting for the cookies to cool. Or maybe some herbal tea? Sometimes it’s that kind of day.
Ingredients
Here’s what you’ll need for these fudgy chocolate raspberry cookies:
-
200g dark chocolate, chopped (I usually use 70% cocoa, because anything less feels more like a candy bar and less like a cookie.)
-
120g unsalted butter, cubed (Honestly, if you splurge a bit on good butter, it makes a difference in taste—though I won’t judge you if you grab whatever’s on sale.)
-
150g sugar (I use golden caster sugar because it adds a subtle caramel note. But if you have plain old white sugar? No judgement here.)
-
2 large eggs (You know the drill—try to get the free range ones if you can. They just taste nicer.)
-
1 tsp vanilla extract (Full disclosure: I use the cheap stuff from the supermarket, but splurge a bit if you want that extra magic.)
-
140g all-purpose flour (If you’ve got some whole wheat flour lying around, you can mix it in. We all want to pretend we’re being healthy after all.)
-
1 tsp baking powder (That little sprinkle really helps with texture.)
-
A pinch of salt (Salt really brings out the flavour—don’t skip it!)
-
150g raspberries (Fresh or frozen work, but you might want to thaw frozen berries first unless you’re down for some gooey surprises.)
-
Optional: 100g chocolate chips (If you really want to go all in on the chocolate, but I won’t pressure you.)
Step-by-Step Guide
Step 1: Melt the Chocolate and Butter
Start by preheating your oven to 350°F (175°C), and then grab a heatproof bowl and set it over a pot of simmering water. Yes, it’s a makeshift double boiler situation.
Why this step matters: Melting the chocolate and butter gently ensures you won’t end up with burnt chocolate, which is a tragedy that should never happen.
Common mistake here: Don’t let the water boil too hard. If water splashes into your chocolate, it’s game over.
My personal hack: Stir the mixture every so often as it melts. You want it smooth, not clumpy.
The sensory cue: You’ll know it’s ready when you can stir it easily without any lumps appearing.
Back to my story—this is where I learned patience (sort of). The first time, I turned my back for just one second, and let me tell you, nobody wants to clean burnt chocolate off their stove. Lesson learned: always watch the chocolate!
Step 2: Mix in the Sugar
Once the chocolate and butter have melted and you’ve taken the bowl off the heat, add the sugar.
Why this step matters: It helps to cool down the mixture a bit, so the eggs won’t scramble when you add them in later.
Common mistake here: Not whisking enough, think: ‘smooth and satiny’ rather than lumpy.
If you’re multi-tasking: This is a great moment to grab your eggs from the fridge.
I always end up staring at this mix with wide eyes, wondering why I didn’t buy a double boiler years ago, but hey, improvise, right? I just channel my inner “young Sophie” who would burn water trying to make instant noodles.
Step 3: Add the Eggs and Vanilla
Once the mixture is nicely whisked, throw in the eggs one at a time, stirring well between each addition. Add the vanilla extract after that.
Why this step matters: Eggs are what’s going to give your cookies that chewy texture you’re after.
My personal hack: Crack the eggs into a small bowl first, so you can check for shells and make your life easier.
Here’s the thing—my daughter usually jumps in during this part. She loves asking if we can add ‘more sugar, Mum!’ I tell her about moderation while reaching for a handful of chocolate chips. We may or may not end up eating half the batch of cookie dough…don’t worry, I won’t tell anybody.
Step 4: Fold in the Flour, Baking Powder, and Salt
Add the flour, baking powder, and salt next. Gently fold it in using a spatula.
Common mistake here: Overmixing. This is not the time to channel your inner gym trainer; keep it gentle.
Maybe it’s just me, but I can’t help but think of this part as a kind of mobile meditation. To focus on the act of folding rather than over-mixing while daydreaming about life outside the kitchen is a refreshing change!
Step 5: Add the Raspberries and Chocolate Chips
Gently fold in the raspberries and chocolate chips if you’re using them.
Why this step matters: You want to make sure your raspberries don’t turn to mush while mixing.
I always save a few raspberries to put on top, you know, for aesthetics. Crying because you messed up post-raspberry mush? That’s not as cute as Instagram makes it look!
Step 6: Scoop and Bake
Use a cookie scoop or a tablespoon to portion out the cookie dough onto a lined baking sheet. Leave enough space between each scoop because you don’t want a cookie blob at the end.
The sensory cue: You’ll know they’re done when the edges look firm, and the middle is still soft (these cookies will continue to cook a tad once out of the oven).
My husband Mark always teases me about my cookie spacing—the whole “they need room to breathe” conversation we have—like they’re little cookie people flipping right off the sheet!
Troubleshooting Real Life
If you burn a few bits on the bottom, don’t panic. Just scrape off the burnt bits and enjoy the rest.
What to do if you’re out of eggs: Use a flaxseed egg instead—1 tablespoon of flaxseed meal with 3 tablespoons of water equals one egg.
If you’ve got to pause because the doorbell’s ringing, just pop the cookie sheet in the fridge for a few minutes to slow down the dough.
The Serving Story
I serve these fudgy chocolate raspberry cookies on a lovely old plate that I definitely stole from my grandmother’s house (sorry, Gran!).
The perfect side for this? Honestly, a scoop of vanilla ice cream never hurt anyone—but sometimes, we just eat them straight from the pan.
If you have leftovers (which is highly debatable), just know that they get even better the next day—if they don’t disappear by then, of course.
When I Make This
I usually whip these up on a lazy Sunday afternoon because there’s something lovely about spending an entire day at home. While they cook, I fold the laundry or catch up on a season of whatever show I’ve been binging (currently in a "Comfort TV" phase).
We eat these cookies at the coffee table with a cuppa while we wind down—a perfect slice of family time together. Cleanup takes about 10 minutes, and while it feels like a lot of work, seeing everyone’s faces light up when they take that first bite makes it all worthwhile.
The Conversational Close
These fudgy chocolate raspberry cookies have seen me through many life events—celebrations, heartbreaks, and just a general need to indulge on weekdays (shh, I won’t tell if you won’t).
They might not be perfect, but they’re mine. I’d love to hear if you make them—tag me or keep it quiet because I get it, not every kitchen mess needs to be shared! And while you’re at it, what’s your go-to comfort food? Mine changes daily, but right now? It’s definitely these cookies.
Happy baking, friends! Enjoy every gooey bite!

Fudgy Chocolate Raspberry Cookies
Ingredients
Method
- Preheat your oven to 350°F (175°C).
- Melt the chocolate and butter in a heatproof bowl set over simmering water. Stir until smooth.
- Once melted, remove from heat and mix in the sugar until well combined.
- Add the eggs one at a time, stirring well after each addition, then mix in the vanilla extract.
- Fold in the flour, baking powder, and salt until just combined.
- Gently fold in the raspberries and chocolate chips, being careful not to mash the berries.
- Use a cookie scoop or tablespoon to portion the dough onto a lined baking sheet, leaving space between each cookie.
- Bake in the preheated oven for 10-12 minutes or until the edges are firm and the center is still soft.
- Let cool on the baking sheet for a few minutes before transferring to a wire rack.