Honey Lavender Cheesecake: A Sweet Escape into Nostalgia
I remember the first time I stumbled upon honey lavender cheesecake — my friend Clara had invited me over for tea on a blustery spring afternoon. The sun peeked shyly through the clouds, and as I walked into her kitchen, the alluring aroma of baked goodness wrapped around me like a warm hug. Clara, always the gifted baker, had made her signature dish. I can still picture her serving it with a side of sage wisdom: “Good food isn’t just about taste; it’s about evoking memories.”
I sat down, fork in hand, and took my first bite. My taste buds danced in delight. The creamy texture mingled perfectly with the floral notes of lavender, and the honey sweetness felt like being kissed by sunshine. It was magical, and as I savoured each bite, I thought to myself, “How on earth do I make this?”. Spoiler alert: my first attempt was not pretty. (Why is there flour in my hair?!) Let’s just say there were tears, laughter, and enough cream cheese to make a small village happy. But trust me on this — after some practice (and a few hilarious kitchen mishaps), I nailed it.
Why This Matters
Okay, let’s be real. Honey lavender cheesecake isn’t just a dessert; it’s a slice of comfort that says, “I see you and I care.” It’s what I whip up when I want to surprise a friend with a thoughtful treat or when I need a little pick-me-up after a long week of juggling work and life. And let’s face it, who hasn’t had those weeks? This cheesecake does the trick because it’s not just about satisfying your sweet tooth; it’s about creating a moment. It’s a reminder that in the chaos of life, sweet embraces come in the form of delicious, creamy cheesecake.
Before You Start
- Ingredient swaps: If you’re running low on lavender, feel free to skip it! This cheesecake is still fantastic with just the honey and cream cheese.
- Essential tools: You’ll want a springform pan (trust me, it’ll save you from cake-lifting nightmares).
- Kids in the kitchen: If your toddler decides they want to be sous-chef during step three, let them! Just give them a small bowl with extra ingredients.
- Wine pairings: I love indulging in a nice glass of Riesling (or tea, if you’re keeping it PG!) while preparing this treat — it makes everything feel a bit more special.
Ingredients
- 250g digestive biscuits, crushed (or chocolate biscuits if you want to mix it up, just don’t tell Clara!)
- 100g unsalted butter, melted (you know the kind that makes your kitchen smell heavenly)
- 600g cream cheese (I swear by Philadelphia because it blends into the perfect creamy texture)
- 150g honey (local honey if you can get it — it really does make a difference)
- 3 large eggs (room temperature; sometimes I forget, and it doesn’t quite work as well)
- 300ml sour cream (the secret to the creaminess factor that will have you going back for seconds)
- 2 tsp dried lavender (you might feel fancy with this, but I promise it’s worth it)
- 1 tsp vanilla extract (the real deal, not the imitation stuff if you can help it)
- Pinch of salt (not too much, just a little to balance the sweetness)
The Step-by-Step with Stories
Step 1: Prepping the Base
Practical Instruction: Preheat your oven to 180°C (that’s 350°F for my friends across the pond), and grease your springform pan.
Why this step matters: A good base is essential. If it crumbles, your masterpiece might just become a messy disaster on the plate.
Personal Hack: I like to line the bottom of my springform pan with parchment paper for extra insurance against slipping.
This is where I get a bit overzealous with the butter. I usually keep a spare pack just for this occasion. It makes me feel all chef-like!
Step 2: Creating the Crust
Practical Instruction: In a bowl, mix your crushed biscuits with melted butter until well combined. Press the mixture firmly into the bottom of the springform pan.
Common mistake here: Not pressing down hard enough. Learn from my mistakes; if it’s too loose, it’ll turn to crumbs when the cheesecake comes out.
Anecdote: My son, Leo, used to think this step was a game. He’d pretend to stomp around the kitchen — I had to hide the rolling pin because “dough” was in his vocabulary for days!
Step 3: Blending the Cream Cheese
Practical Instruction: In another bowl, beat the cream cheese until smooth. Add honey and mix until well combined.
Why this step matters: The smoother the cream cheese, the creamier your cheesecake!
If you’re multitasking: Pop a kettle on and make yourself a cup of tea; you deserve it.
As I mix, I remember spooling my grandmother’s recipe cards — the way she’d smile when talking about her favourite dessert recipes always warms my heart.
Step 4: Adding the Eggs and Flavourings
Practical Instruction: Add the eggs, one at a time, then stir in the sour cream, lavender, vanilla, and a pinch of salt.
The sensory cue: You’ll know it’s ready when the mixture almost looks fluffy — like clouds in dessert form!
A little tip: If you’re worried about over-mixing, just keep it gentle; no one wants rubbery cheesecake.
Step 5: Baking Time
Practical Instruction: Pour the batter over the crust and smooth the top. Bake for about 50 minutes, or until it’s set but slightly wobbly in the centre.
Common mistake: Leaving it in too long. Trust me, cheesecake continues to cook a little after it’s out of the oven!
Quick alternative: If you need to pause for an unexpected phone call (it happens), just turn the oven off and leave the door ajar — it’ll keep warm without overcooking.
Step 6: Cooling and Chilling
Practical Instruction: Allow the cheesecake to cool completely at room temperature, then refrigerate for at least four hours (overnight is even better!).
If you burn the bottom: Don’t panic! Use a serrated knife to gently trim the burnt parts off — nobody will know!
The Serving Story
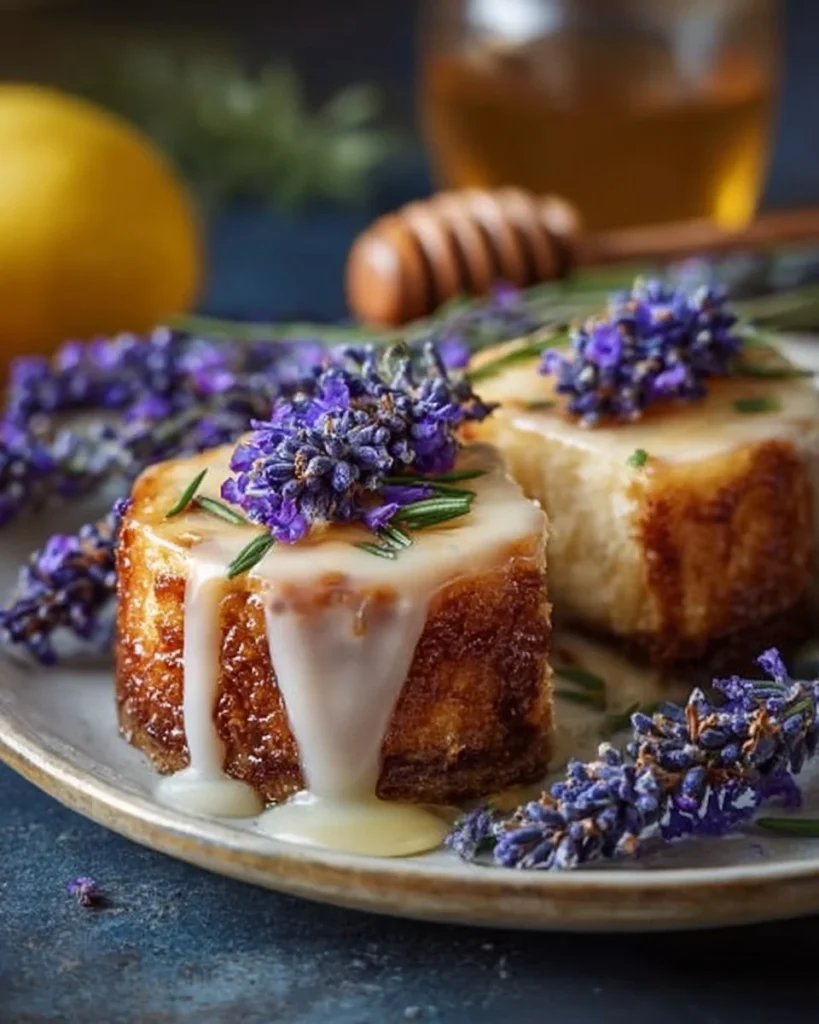
When it’s finally ready to serve, I love plating this cheesecake on a colourful vintage plate. I’ve got one that used to belong to my mum, with delicate floral patterns — it feels special. You can dust some extra lavender on top or drizzle a bit more honey.
Honestly, the perfect side is a dollop of whipped cream, but sometimes we just dive in straight from the pan. (Okay, fine, that’s just me.)
Leftovers and Clean-up
Do not fret about leftovers! This cheesecake gets better over time. In fact, I think the flavours really deepen as they mingle in the fridge. And the cleanup? It usually takes me about 20 minutes, but it’s totally worth it to have a treat on hand for the week.
When I Make This
I typically make this cheesecake on Sunday afternoons when my energy levels are high, and I’m feeling inspired by the quietness of my home. While it cooks, I often find myself folding laundry or giving my plant babies a little extra love.
We enjoy it after dinner, either gathered around the dining table with candles flickering or sometimes even outside on warm evenings when the sky is painted with those lovely pinkish hues.
The Conversational Close
Full disclosure, this honey lavender cheesecake has seen me through some tough days. Whether it was comforting a friend going through a breakup or celebrating Leo’s latest soccer win, it’s been my go-to.
It might not be perfect every time, but it’s mine, and I would love to hear if you give it a go — tag me or send me a message!
What’s your go-to comfort food? Mine changes, but right now, it’s this. I promise you, dear friend, you won’t regret creating this little slice of happiness in your kitchen.
Happy baking!

Honey Lavender Cheesecake
Ingredients
Method
- Preheat your oven to 180°C (350°F) and grease your springform pan.
- Line the bottom of the pan with parchment paper for extra insurance.
- In a bowl, mix your crushed biscuits with melted butter until well combined.
- Press the mixture firmly into the bottom of the springform pan.
- In another bowl, beat the cream cheese until smooth.
- Add honey and mix until well combined.
- Add the eggs, one at a time, then stir in sour cream, lavender, vanilla, and a pinch of salt.
- Pour the batter over the crust and smooth the top.
- Bake for about 50 minutes, or until set but slightly wobbly in the center.
- Allow the cheesecake to cool completely at room temperature, then refrigerate for at least four hours (overnight is even better).