
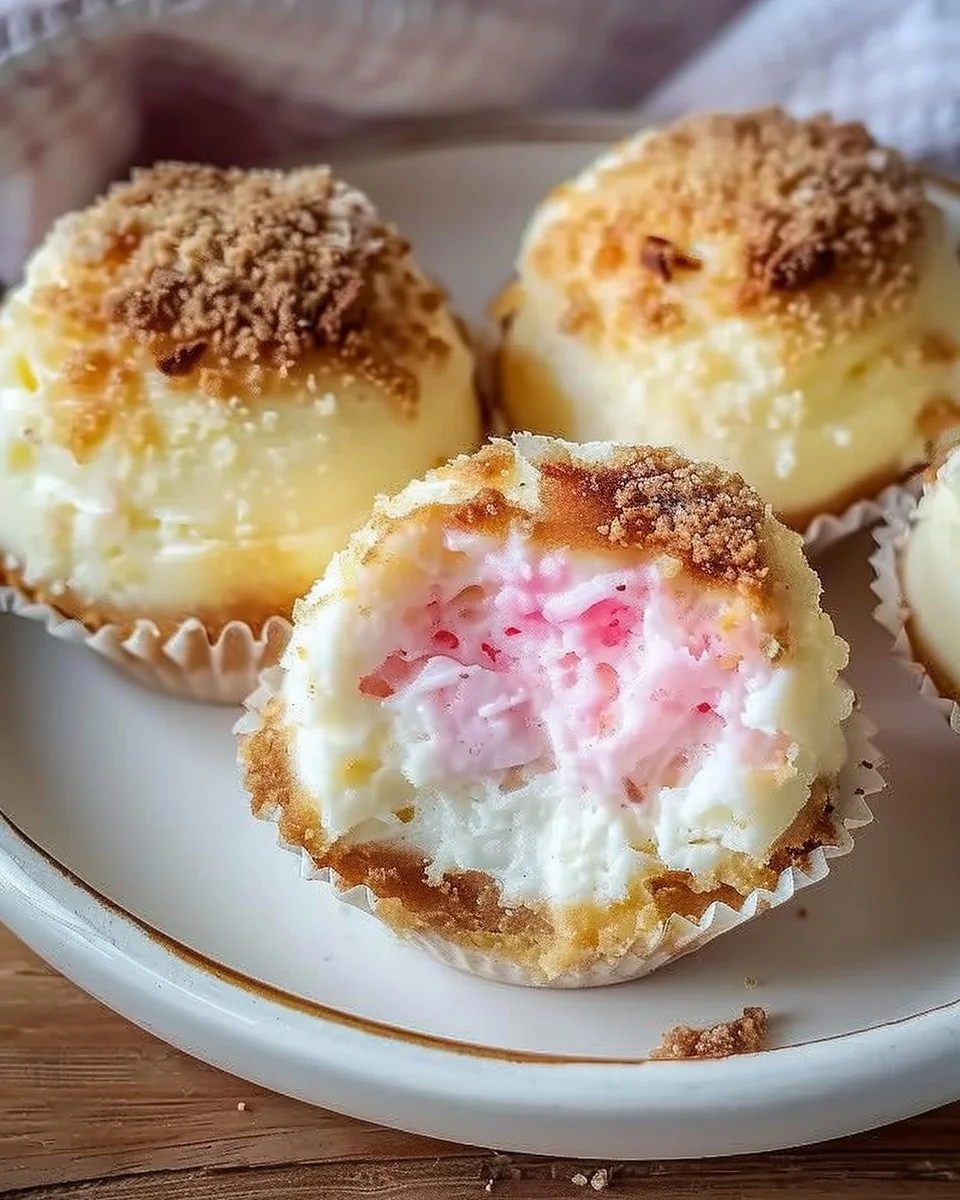
Cheesecake Bombs: The Sweet Surprise You Didn’t Know You Needed
The first time I attempted to make these Cheesecake Bombs, I’ll be honest—I could hear a chorus of angels weeping. Not picturesque, soulful weeping, but the kind of sobbing that happens when your hopes are dashed and there’s cream cheese everywhere. It was a bizarre kitchen scene. I was about to host a small gathering for some friends and thought, "Hey, how hard could it be?" Spoiler: very. A friend dropped by unexpectedly, spotted my disaster, and wisely said, "Maybe you should take a breather and try not to invent a new kitchen horror."
That was five years ago. Now? Cheesecake Bombs are my go-to treat, especially when I want to impress but my energy is somewhere between "do I need a nap?" and "what’s the nearest takeaway?" Let me pull you aboard this delicious chaos, so you too can create sweet little bites of joy without the tears.
Why This Matters
Okay, here’s the thing: Cheesecake Bombs aren’t just food; they’re the kind of dessert that can brighten a heavy day. If you’re knee-deep in laundry and kid chaos but still want to serve something that feels like love (but without the fancy baking a full cheesecake requires), trust me on this. You mix, chill, roll, and voilà! You’ve got a dessert that says “I care” without making you sweat like you’ve run a marathon. These little beauties are perfect for birthday parties, casual get-togethers, or just when you feel like a little too much sugar will fix everything.
Before You Start
- Ingredient swap: Only have regular cream cheese? No fancy mascarpone? That’s cool. The world won’t end. Just know your bomb might be a bit denser.
- Tool tip: Get yourself a cookie scoop (I swear mine isn’t just a decoration; it makes the job a breeze). Your hands will thank you later.
- Panic moment: If your child suddenly decides hitting the floor is the new Olympic sport during step 3 (not speaking from experience…okay, maybe), drop everything. You’ve got this. Just come back when you can—it’s all about the timing.
- Wine factor: Depending on whether you fancy yourself a sophisticated adult or a chaotic rebel on a Tuesday, pour yourself a glass of white. It makes cooking feel fancy. Or, you know, just grab a cup of tea. Whatever works.
Ingredients List
- 8 oz cream cheese, softened (Trust me; it’s got to be soft. I learned this the hard way after struggling with lumps that made my friends question my skills.)
- ¼ cup granulated sugar (You can use less if you’re feeling virtuous, but why?)
- 1 tsp vanilla extract (The kind you actually measure, not just a splash—though I’ve been there too.)
- 1 cup crushed graham crackers (Life’s too short to skip this. Just pop those in a food processor and have fun!)
- 2 oz butter, melted (You can live it up and go unsalted if you really want, but regular is just fine.)
- 1 cup chocolate chips (I literally use whatever is on sale—your taste buds won’t know the difference.)
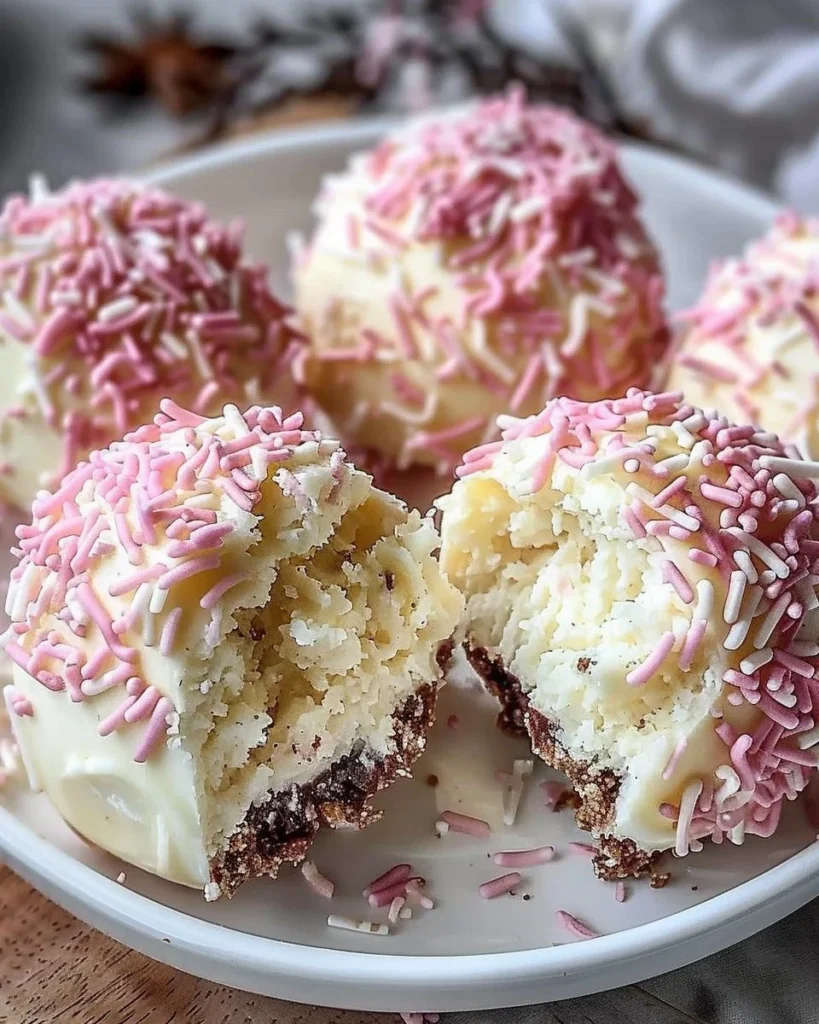
- Optional toppings: sprinkles, crushed nuts, or more graham crumbs (because sometimes, you need a little pizzazz).
Step-by-Step Instructions
Step 1: Mix Your Cream Cheese
In a handy mixing bowl, toss in your softened cream cheese, sugar, and vanilla extract. Time to whip it all up until smooth.
Why You Should Care: Cream cheese must be softened properly to avoid lumps. Set it on the counter while you prep—just don’t forget about it like I usually do.
Common mistake here: Many people try to skip softening and end up with ricotta-style lumps. Just don’t.
Personal hack: If you forget to take your cream cheese out? A quick ten seconds in the microwave works wonders. Be careful though; you really don’t want it to melt.
The sensory cue: Keep mixing until you hear the delightful "whoosh" of creaminess—no white streaks in sight!
Anecdote: I still remember when I tried to mix the cream cheese fresh out of the fridge. Let me tell you, it was a kitchen disaster. I spent half an hour picking lumps out—soaking in regret, really.
Step 2: Form the Cheesecake Bombs
Once that cream cheese mixture is smooth, spoon out about a tablespoon and roll it into a ball. Place them on a baking sheet lined with parchment paper.
Why this step matters: Here’s your chance to bring your inner artist to life. It’s a bit therapeutic. Just get the right size so you don’t end up with bombs the size of small planets—trust me, no one wants that.
My personal hack: Use a cookie scoop for perfectly uniform balls.
If you’re multitasking: Go ahead and start playing with the chocolate chips while you roll.
The sensory cue: You’ll know your bombs are ready when your hands are coated in a little cream cheese. It’s like a mini spa treatment!
Anecdote: This step can be fun or tragic, depending on your mood. Once, I tried to roll these while simultaneously negotiating peace with my toddler. Let’s just say one of these bombs went rogue and found its way into the dog’s mouth. So, that was an…interesting conversation.
Step 3: Chill Out
Pop those rolled cheesecake balls into the fridge for at least 30 minutes—they need a breather.
Why this matters: They’ll firm up, making them easier to dip in chocolate.
Common mistake here: Don’t skip this step! If you ignore the chilling phase, you’ll end up with melted dreams—seriously.
If you need to pause for a kid emergency: No worries. Just wrap them in plastic or keep them on the tray in the fridge before you dash away.
The sensory cue: You’ll know they’re ready when they feel solid to the touch, not goopy. If you can roll them without leaving a trail of cream cheese, you did it right!
Step 4: Dip and Decorate
Melt your chocolate chips in the microwave (blast them in 30-second bursts); then carefully dip each cheesecake bomb, letting the excess chocolate drip off before placing them back on the parchment.
Why this step matters: This is where they become the show-stoppers. They need their chocolate coats to shine!
My personal hack: If you’re feeling spunky, sprinkle graham cracker crumbs on top while the chocolate is still wet. It’s all about that presentation!
If it’s just not working: And your chocolate seized up? I’ve been there. Just wash it out and start over. Alternatively, you can just powder sugar them and call it a day. No judgment here.
Anecdote: My sister once used leftover Easter chocolate for this. One bite and I was like, “Why do these taste like resurrection?” She almost fell off her chair laughing as I tried to explain my bafflement.
Step 5: Get Ready to Serve
Alright, your cheesecake bombs are ready. Serve them on a nice platter, and if you’re feeling fancy, add some sprinkles or drizzle more chocolate on top.
How I serve it: My go-to is a beautiful glass platter because it makes everything look more ‘I totally have my life together’.
The perfect side: Honestly? Coffee is lovely with these because chocolate and caffeine are basically best friends.
Leftovers: They keep well (I think), but let’s be real—there probably won’t be any left.
When I Make This
I usually whip these up on a Saturday afternoon when I’m avoiding laundry duty. While they chill in the fridge, I might tackle the mess of crayons my toddler thought was her ‘art installation’ or collapse on the couch with a cup of tea, just…breathing.
We usually snack on them during family movie night, sitting on the couch in our pajamas, laughing over some ridiculous flick while crumbs fall into the couch and dog fights over leftovers like it’s Black Friday. Cleanup takes a solid five minutes, mostly because my husband insists on eating the extras off the tray while I’m washing up.
The Conversational Close
This recipe has seen me through many moments of stress, birthdays, and even heartbreak. Maybe it’s not perfect—sometimes they come out kind of lopsided—but it’s mine, and I wouldn’t change a thing. I’d love to hear how yours turn out—tag me or just enjoy it quietly. What’s your go-to comfort food? Mine definitely flips around, but right now? It’s these ethical little bombs of joy.
If you’re ever in doubt, remember this: kitchen chaos often leads to the sweetest joy. Don’t overthink it, grab your ingredients, and let’s make some Cheesecake Bombs!

Cheesecake Bombs
Ingredients
Method
- In a mixing bowl, combine softened cream cheese, sugar, and vanilla extract. Whip until smooth.
- Spoon out about a tablespoon of the mixture and roll into a ball. Place on a baking sheet lined with parchment paper.
- Refrigerate the rolled cheesecake balls for at least 30 minutes to firm up.
- Melt the chocolate chips in the microwave in 30-second bursts. Dip each cheesecake bomb in the chocolate, then place back on the parchment.
- Serve the cheesecake bombs on a platter, optionally topping with sprinkles or a drizzle of extra chocolate.