
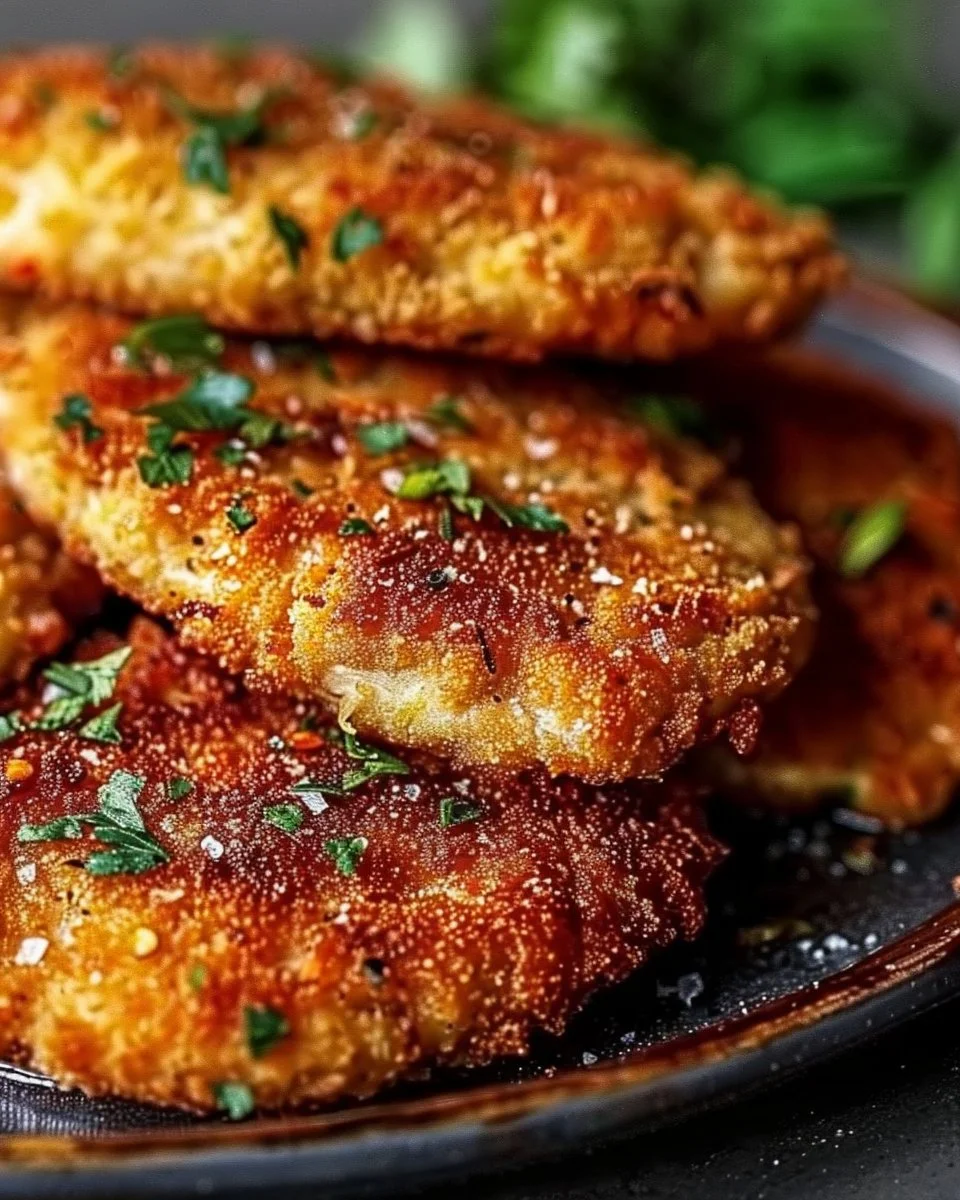
Crispy Italian Chicken Cutlets: The Recipe That Turned My Kitchen Fiasco into a Family Favourite
The first time I tried to make crispy Italian chicken cutlets, I seriously thought I’d burnt the whole house down. Picture this: me, a slightly frazzled home cook, in a kitchen that suddenly felt way too small. I had flour everywhere, and I mean everywhere. My kids dashed around, dodging my half-hearted swipes at them with a moist paper towel, and my husband, bless him, casually strolled in from the garden to ask if dinner was ready. Spoiler alert: it wasn’t. I burnt the chicken, set off the smoke alarm, and let’s just say my dog has never looked at chicken the same way.
The memory still makes me cringe, but then it hit me: all I needed was a little practice, and hey, maybe a cup of wine while I was at it. Now, crispy Italian chicken cutlets have turned from a kitchen nightmare to my go-to recipe when I want to impress. It’s what you whip up when life’s being a tough cookie (or, you know, say, a dry chicken cutlet). Trust me, this dish whispers sweet nothings of love to your family and friends. Let me save you from my dramatic first attempt.
Why This Matters
Here’s the thing: cooking isn’t just about whipping up a meal that fills bellies—it’s also about the memories created while doing it. This dish isn’t just chicken; it’s the meal I make when I want to hug my kids and whisper, "I love you," without sounding cheesy. It’s the moment when stressed out parents can gather around the dinner table, chitchat about their day, and forget about the laundry mountain waiting in the corner. When everything else feels chaotic, this chicken cutlet recipe is like a warm embrace, capable of turning around any day.
Before You Start
- If you only have breadcrumbs instead of panko: Don’t sweat it! Just use what you’ve got. It’ll be a bit denser but still oh-so-good.
- The one tool that makes this infinitely easier: A meat mallet, or even a rolling pin if you’re feeling crafty. Whack those chicken breasts like they owe you money for that bad movie you watched last weekend.
- What to do if your toddler starts melting down at step 3: Keep a small bowl of extra breadcrumbs nearby; give them a sprinkle-it-on-top job. It’ll distract them long enough for you to get through the craziness.
- The exact wine to pour while cooking this: A glass of Pinot Grigio pairs beautifully. Or tea, if you’re running on empty.
Ingredients
Here’s what you’ll need to bring this crispy magic to life:
- 4 chicken breasts (I pound them out because, well, my family likes them thin and crunchy, and I like an excuse to hit something).
- 1 cup all-purpose flour (I get mine from the local shop. Sometimes I buy organic, sometimes I don’t. Just don’t ask me what brand—my pantry’s a mess).
- 2 large eggs (you know, just in case the last ones you bought at Tesco were expired).
- 1 cup panko breadcrumbs (this is the secret to the crispy edge—yes, it’s totally worth finding).
- 1 tsp garlic powder (don’t even bother mincing; I’m tired enough).
- 1 tsp kosher salt (I’m a big fan; they dissolve better).
- 1/2 tsp black pepper (or more if you’re feeling adventurous).
- Vegetable oil for frying (I usually use whatever’s on sale).
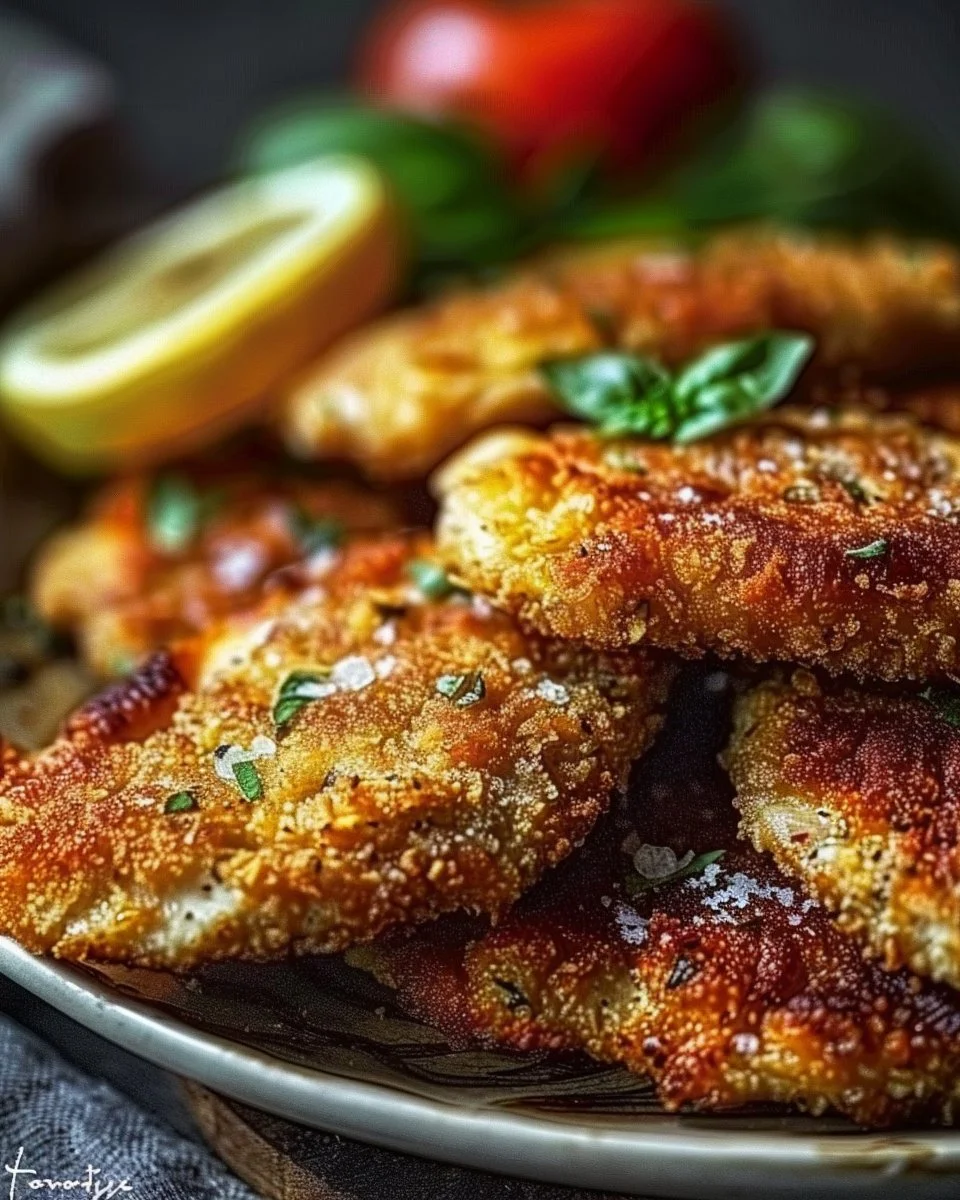
- Lemon wedges for serving (my grandmother always said nothing brightens chicken like a good squeeze of lemon).
Step-by-Step with Stories
Step 1: Tenderizing the Chicken
The Practical Instruction: First, pound those chicken breasts until they’re about 1/2 inch thick. Place them in a resealable bag, pick something like a rolling pin or—if you’re feeling wild—your favourite wine bottle, and let loose.
Why This Step Matters: This ensures even cooking and maximizes that delicious crispy crust. No one likes a rubbery chicken cutlet.
My Personal Hack: Lay the bag on a cutting board; it makes it easier to manage and saves you from sweeping raw chicken juice all over your counter.
Anecdote: I usually do this part while chatting with my daughter, Mia. She loves helping out, plus she gets to form her chicken detox plans for the week (she’s in high school; everything’s a detox).
Step 2: Set Up Your Breading Station
The Practical Instruction: Set up three shallow bowls for dredging: one with flour, one with beaten eggs, and one with panko mixed with garlic powder, salt, and pepper.
The Human Insight: This might seem like a hassle, but the dry-wet-dry method is crucial for that crusty coating!
Common Mistake Here: People often forget to season each layer. Don’t skip it—trust me, I’ve ruined many evenings’ meals in my early cooking days.
Anecdote: This is where my son, Leo, always wants to “help”—which usually means he ends up more panko-covered than the chicken. We just call that “family bonding time.”
Step 3: Dredging the Chicken
The Practical Instruction: Take each chicken breast, coat it in flour (shake off the excess), then dip it in the egg, and finally coat it with panko.
Sensory Cue: You’ll know it’s ready when it looks golden and crunchy. Seriously, if you find yourself wanting to eat the crumbs—it’s normal. I won’t tell anyone.
Step 4: Frying Time
The Practical Instruction: Heat about 1/2 inch of oil in a large skillet over medium heat. You want it hot but not smoking—like a sauna, not a barbecue.
My Personal Hack: A little sprinkle of water drops into the oil tests if it’s ready. If it sizzles, get those breasts in there!
Anecdote: This is the moment I slightly freak out, remembering the first time I burned the chicken. Now I play oldies from my teen years (back when I had all the time in the world) to keep myself calm.
Step 5: Cooking the Chicken
The Practical Instruction: Fry the chicken cutlets for about 4-5 minutes per side or until golden brown.
Why This Step Matters: You want that crispy exterior to lock in moisture.
Common Mistake Here: It’s tempting to flip them too soon—don’t do what I did that one time and end up with a soggy underbelly.
Anecdote: My husband usually wanders in at this point, thinking I’ve got this fantastic meal cooking because it smells so good—secretly I’m just thankful for the oldies on the radio keeping the vibe light.
Step 6: Drain and Serve
The Practical Instruction: Let the cooked cutlets drain on paper towels.
Why This Step Matters: I promise you, it’s worth the wait for a crispy finish rather than an oily disaster.
Anecdote: This is also where I sneak a tiny piece for the dog. He thinks it’s a treat, but really, it’s my way of getting rid of any disaster pieces.
Troubleshooting Real Life
- If you burn the bottom: Here’s an honest tip—scrape it off, pretend it’s a gourmet secret, and let your family think you were just trying to add some “character.”
- If you’re out of panko: Use standard breadcrumbs, but toast them quickly in the oven while you prep. Voilà, instant crunche!
- If you need to pause for an unexpected family call: Just remove the chicken from the pan, let the oil cool, cover it up, and reheat when you’re ready. It’s all good.
- If it’s just not working: Seriously? Just grab takeaway. Life’s too short to sweat over uncooperative chicken.
The Serving Story
I usually serve these beauties on platters that have my grandmother’s floral pattern, because every time I set the table, I’m reminded of Sunday dinners back in the day. The moment you squeeze a lemon over the chicken, that’s when the magic happens. The perfect side? Garlic mashed potatoes, because carbs help in building up those life memories.
Leftovers? Oh, don’t even get me started. They taste even better. Trust me, they’re great in a sandwich the next day, too—my son just tosses in whatever he finds in the fridge. It’s a creative masterpiece (often questionable but always hilarious).
When I Make This
I usually pull this recipe out on those chaotic Wednesday evenings, right before I have to start prepping for the weekend. While it simmers away, I multi-task with laundry, family texts, and the ever-so-needed coffee break. We eat it at the actual dinner table, candles and wine optional, and our dinner conversation feels whimsical—even when I’m definitely cringing at how mercilessly I burnt the garlic bread last week.
Clean-up? Hah! I’ll say it takes about 15 minutes, but I often find myself lingering, reminiscing about those disaster-filled days when my kids used to ask if dinner meant spaghetti or cereal (usually cereal).
The Conversational Close
This recipe has been through all sorts of highs and lows with me. It’s the staple that got me through moments of self-doubt, motherhood headaches, and yes, even the occasional kitchen disaster. It might not be perfect, but it’s ours. I’d love to hear if you make it—tag me in your adventures or just relish it quietly with your family. What’s yours? Mine changes, but right now, it’s this crispy chicken cutlet shining brightly in my recipe book.
And remember—no one’s perfect; we just try to make the best burnt chicken we can. Enjoy!

Crispy Italian Chicken Cutlets
Ingredients
Method
- Pound the chicken breasts until they are about 1/2 inch thick, using a meat mallet or rolling pin.
- Set up three shallow bowls: one with flour, one with beaten eggs, and one with panko mixed with garlic powder, salt, and pepper.
- Coat each chicken breast in flour, shake off the excess, dip in egg, and finally coat with panko.
- Heat about 1/2 inch of oil in a large skillet over medium heat until it's hot but not smoking.
- Fry the chicken cutlets for about 4-5 minutes per side or until golden brown.
- Let the cooked cutlets drain on paper towels before serving.