
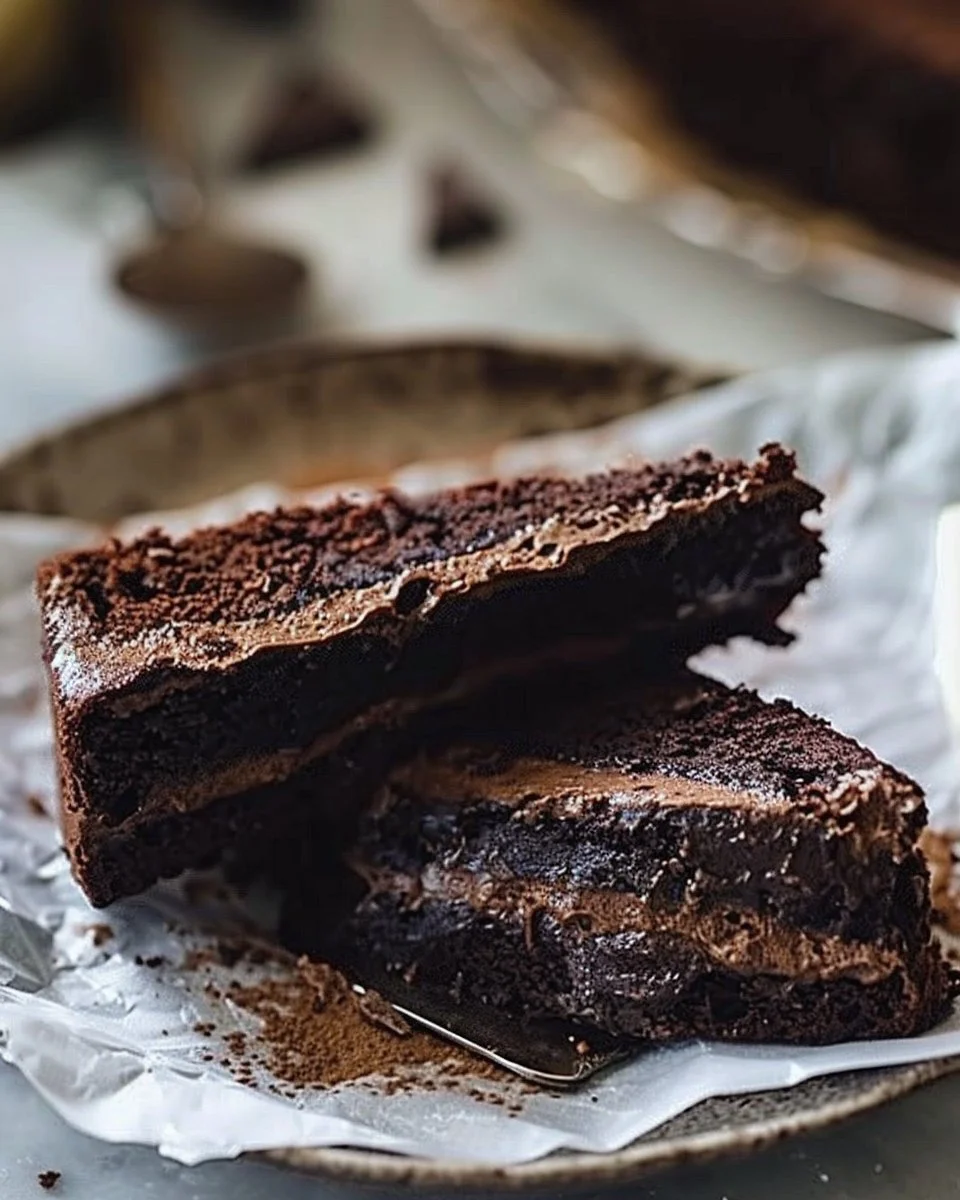
The Flourless Chocolate Cake That Whispered I Love You
The first time I tried to make a flourless chocolate cake was a total disaster. Picture this: me, a frazzled mum, juggling the ever-widening laundry pile while simultaneously attempting to whip up something special for my husband’s birthday. Between the kids’ incessant bickering and my dog deciding that the mixing bowl was the enemy (why do they do that?), I found myself standing in a kitchen that looked more like a scene from a disaster movie. You know, the kind where they shout “We need backup!” and toss in a few comedic moments?
So there I was, chocolate melting in the microwave—smelled divine until I forgot it and it turned into a weird chocolate brick—and eggs splattering like confetti on my counter. Somehow, I managed to regain composure and convinced myself that I could do this. I was chasing the dream of impressing my husband, who, to be honest, would’ve been thrilled with a cheese toastie on any given Tuesday. But here I was, all in for the flourless chocolate cake. And after a few not-so-glamorous attempts, I finally cracked it. Now this cake is my go-to for special occasions. Trust me, it’s everything you want: rich, indulgent, and absolutely flourless.
Why This Matters
Okay, let’s be real: sometimes you just need something decadent that won’t leave you feeling heavy. Enter the flourless chocolate cake. This dessert is like a warm hug on a chilly evening, the kind that says, “I love you” without nearly as much effort (or flour). It’s your answer when you’re too exhausted to whip up a multi-layered cake but want to impress someone special—your partner, your parents, or just a particularly demanding Tuesday.
After all, who doesn’t love chocolate? This cake isn’t just food; it’s a conversation starter, an excuse to pause everything for a moment, and let’s face it, a valid reason to pour yourself a glass of wine. Because isn’t that what we call self-care?
Before You Start
- Best to use high-quality chocolate: You won’t regret splurging a bit here. I usually grab some Lindt or Green & Black’s because, honestly, hear me out, it makes a difference. The taste is richer, and you’ll be glad you did it.
- Room temperature eggs are key: If you can remember to take your eggs out ahead of time, this will help them blend beautifully into the chocolate and sugar mixture—no more lumps!
- Don’t panic if it cracks: A good flourless chocolate cake often looks like it’s been through the Great British Bake Off and lost to Paul Hollywood. Those cracks are simply the cake’s personality shining through. It’s what makes it beautiful, promise.
- Have a pint of ice cream ready: Or a dollop of crème fraîche. I’m telling you, it’s a necessity.
Ingredients
- 8 oz (227g) high-quality bittersweet chocolate, chopped (I tend to use Lindt because, well, why not?)
- 1/2 cup (113g) unsalted butter (Real butter, folks—not margarine—because we are not animals.)
- 3/4 cup (150g) granulated sugar (Honestly, I sometimes reduce it slightly, depending on the chocolate. Adjust to taste.)
- 3 large eggs, at room temperature (Trust me on this; it just works better.)
- 1 tsp pure vanilla extract (Skip the synthetic stuff and get the good vanilla. It’s worth the couple of extra quid.)
- 1/2 cup (50g) unsweetened cocoa powder (I use Bournville because it’s what we had when I grew up, and it has a lovely rich flavour.)
- 1/4 tsp salt (Salt makes sweet things sing.)
Step-by-Step Instructions
Step 1: Preheat and Prep the Pan
Practical Instruction: Preheat your oven to 350°F (175°C). Grease an 8-inch (20cm) round cake pan with butter and line the bottom with parchment paper for good measure.
Why this step matters: Preheating ensures your cake starts cooking immediately for even baking. Don’t skip this; your cake might end up sad and dense.
Common mistake here: Forgetting to line the pan—trust me, I’ve made that error and had a complete meltdown as I pried the remnants of my cake from the sides of the pan with a fork.
My personal hack: Use a baking spray; it’s a game changer if you’re in a rush. Just trust me on this!
The sensory cue: It should smell slightly toasty when you open the oven.
Step 2: Melt the Chocolate and Butter
Practical Instruction: In a microwave-safe bowl, combine the chocolate and butter. Microwave on low for 30-second intervals, stirring in between, until completely melted and smooth.
Why this step matters: Overheating can make chocolate seize up, leaving you with a grainy texture instead of a velvety wonder.
Common mistake here: Setting the microwave to full blast because you’re impatient. Learn from my mistakes.
My personal hack: If you feel fancy, add a sprinkle of espresso powder to the chocolate mixture—it’ll elevate your cake like nobody’s business.
Anecdote: This step always reminds me of when my daughter decided she could also “help” with the melting process. She was about five, and let’s just say, the chocolate nearly ended up everywhere but in the bowl.
Step 3: Mix in Sugar, Eggs, and Vanilla
Practical Instruction: Stir the sugar into the melted chocolate. Add in the eggs, one at a time, mixing well after each addition. Then, add the vanilla extract.
Why this step matters: The sugar helps to create that glossy surface while the eggs make the cake nice and fluffy—yes, this is flourless, but we can still have a bit of fluffiness!
Common mistake here: Not mixing enough. You want everything to be incorporated properly. No lumps allowed—like in life.
My personal hack: Whisk vigorously—this will incorporate some air into the batter, making the cake lighter!
Step 4: Fold in the Dry Ingredients
Practical Instruction: Sift the cocoa powder and salt into the chocolate mixture and gently fold it in until just combined.
Why this step matters: Sifting the cocoa helps to avoid any clumps, which I’ve had the “pleasure” of encountering. And not in a fun way.
Common mistake here: Over-mixing. Please, don’t do this. It’ll give you a dense cake rather than one that resembles a slice of heaven.
Anecdote: I remember the first time I thought I knew better and skipped the sifting step. Let’s just say I now have a newfound respect for the fine things in life, cocoa included.
Step 5: Pour and Bake
Practical Instruction: Pour the batter into your prepared pan and bake for about 25 minutes. When done, the edges should pull slightly away from the pan, and the cake should still jiggle a bit in the centre.
Why this step matters: The jiggle means it’ll keep cooking in its own warmth, creating that gooey texture we all crave.
Common mistake here: Over-baking. Nobody wants a dry cake, and trust me, the cake will firm up as it cools.
My personal hack: While it’s baking, pour yourself a glass of something relaxing. It’s an essential part of the process.
Step 6: Cool and Serve
Practical Instruction: Let the cake cool in the pan for about 10 minutes, then invert it onto a plate and remove the parchment paper.
Why this step matters: If you leave it to cool too long in the pan, you’ll risk having half the cake stick. No one needs that kind of heartbreak!
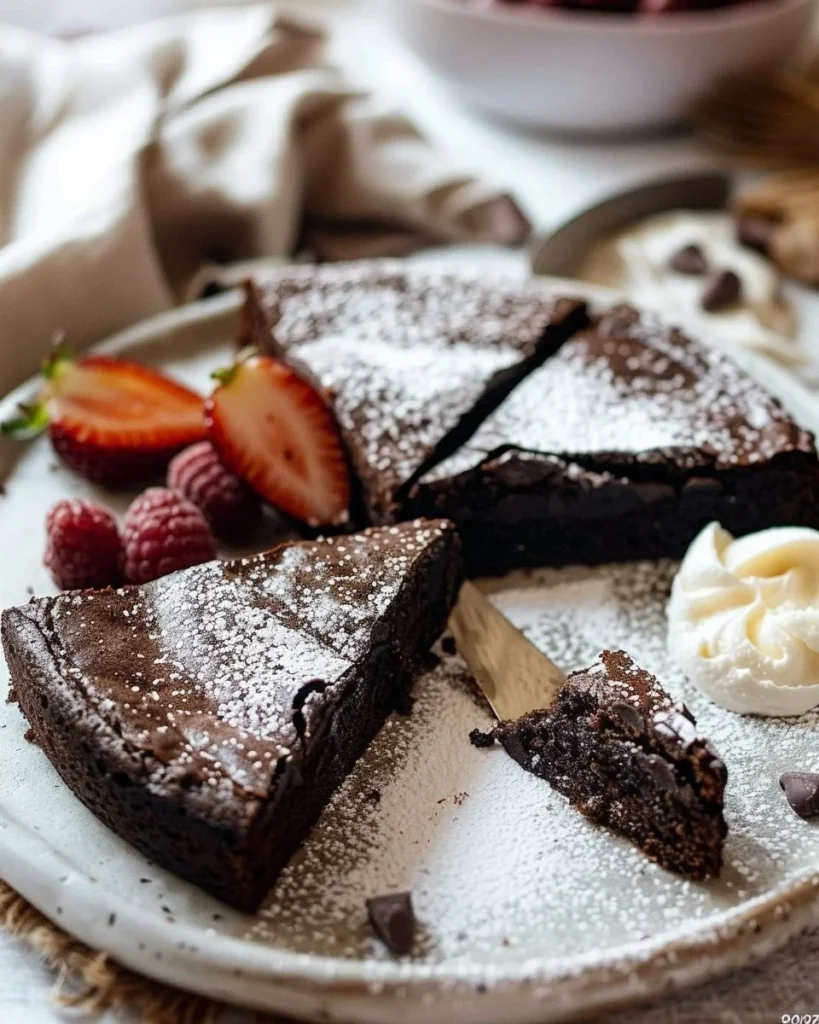
Troubleshooting real life: If it cracks a little, don’t panic. Dust it with icing sugar or slather on some ganache. We’re all friends here; it’s about taste, not perfection.
Serving Story: I always serve this cake dusted with a bit of icing sugar for dramatic effect. I may or may not have taken it out of the oven in a slightly panicked state once and served it right from the pan. Sue me; it was that good.
When I Make This
I usually pull out the ingredients for this on a Sunday afternoon—there’s something comforting about the whole process. While it cooks, I might fold a mountain of laundry (which is a decided ‘no thank you’ but must happen), or sometimes, I sneak a snippet of ITV’s Midsomer Murders because who doesn’t love a bit of British crime drama while baking?
As for the eating? That usually takes place right in front of the TV, plates hardly more than an afterthought. A dash of cream or a scoop of ice cream completes the picture, and there we sit as a family, stuffed and happy.
Conversational Close
This flourless chocolate cake has seen me through birthday parties, “I’m-sorry-please-forgive-me” moments, and even just quiet evenings when my soul craved a good old chocolate fix. It may not be an elegant masterpiece, but it is undeniably mine.
I’d love to hear how yours turns out! Tag me if you make it or simply enjoy it quietly—even if you get it wrong the first time. What’s your go-to comfort food? Mine changes, but this cake is a steadfast favourite in the lineup.

Flourless Chocolate Cake
Ingredients
Method
- Preheat your oven to 350°F (175°C). Grease an 8-inch (20cm) round cake pan with butter and line the bottom with parchment paper.
- In a microwave-safe bowl, combine the chocolate and butter. Microwave on low for 30-second intervals, stirring until completely melted and smooth.
- Stir the sugar into the melted chocolate. Add in the eggs, one at a time, mixing well after each addition. Then, add the vanilla extract.
- Sift the cocoa powder and salt into the chocolate mixture and gently fold it in until just combined.
- Pour the batter into your prepared pan and bake for about 25 minutes. The cake should jiggle slightly in the center when done.
- Let the cake cool in the pan for about 10 minutes, then invert it onto a plate and remove the parchment paper.