
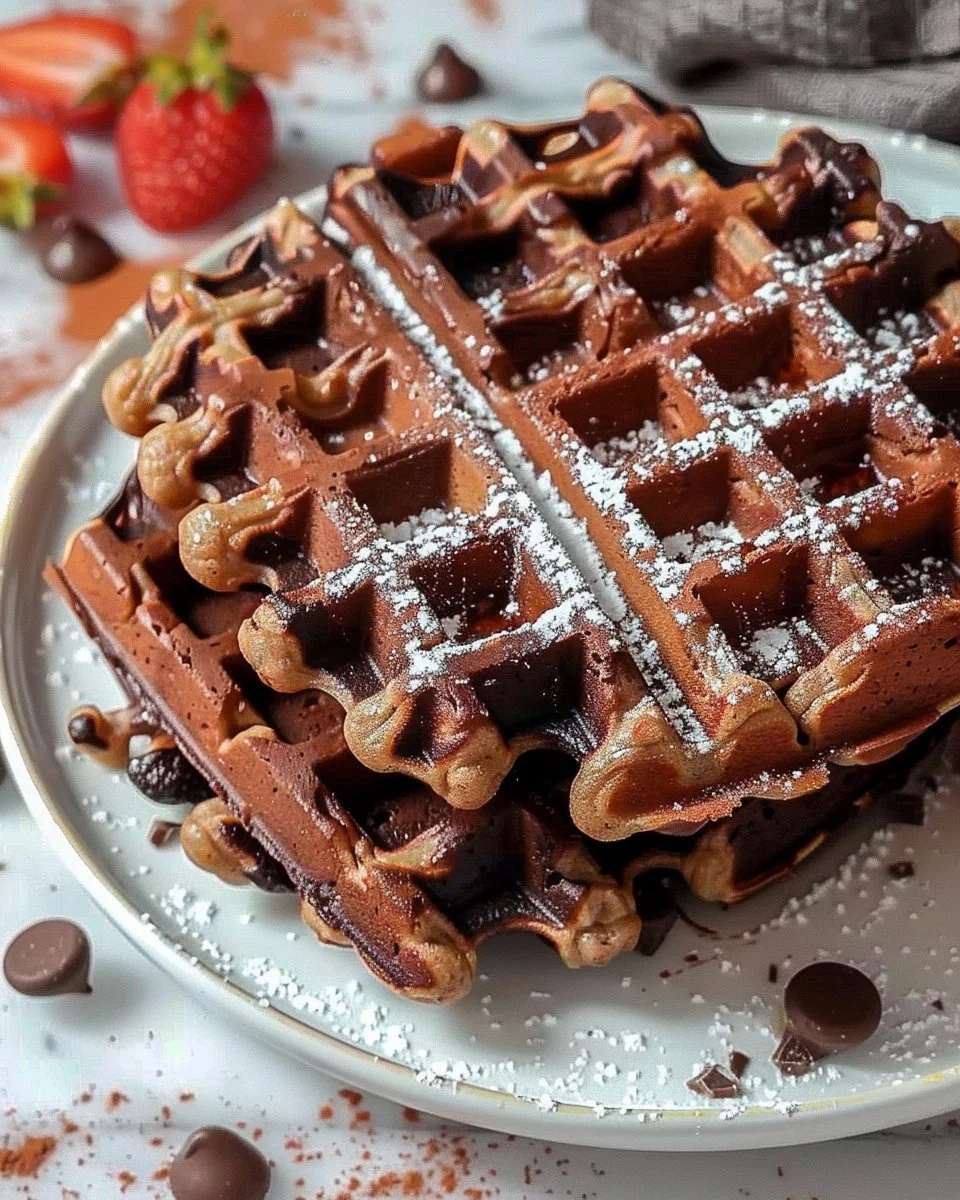
Fudgy Brownie Waffles: A Sweet, Chocolatey Comfort for Life’s Many Ups and Downs
The first time I tried to make brownie waffles, I swore I’d moved to a parallel universe where chaos reigned supreme in my kitchen. Picture it: batter splattering everywhere, chocolate on the ceiling—yep, I need to talk to my ceiling-spot cleaner about that. I thought, “How hard can it be?” Famous last words, right? But as luck would have it, my daughter Emma wandered in and muttered, “Mum, they can’t be that bad. I mean, brownies are always a win.” True words for a mother in distress.
So why do I make these fudgy brownie waffles every time life feels a little too messy? Because they’re not just waffles; they’re a hug in dessert form. That warm, gooey chocolate goodness brings back memories of cozy weekends spent with my family—pajamas still on at noon, sipping coffee while the world outside buzzes around us. Let me save you from my first disastrous attempt and lay out how these can become your go-to, easy-peasy comforting recipe.
Why This Matters
Let’s get real here for a second: we all have days where we just need something to lift us up. Maybe it rained all week, or your kid is going through a grumpy phase. These fudgy brownie waffles are the antidote to any blah day, delivering serious serotonin with every bite. Plus, they’re fab for breakfast, brunch, or even that midnight snack when you’ve had one too many episodes of your current binge-watch! Trust me on this.
Before You Start
Before we dive headfirst into the chocolatey goodness, here are some handy tips I’ve picked up along the way:
- If you have cake flour instead of all-purpose, go for it! It’ll make for a lighter waffle, but I usually stick with all-purpose because you know, convenience.
- The one tool that makes this infinitely easier is a non-stick waffle maker—I didn’t believe it was necessary until I tried it. Seriously, no sticky surprises after all the effort? Yes, please!
- If your toddler starts melting down mid-batters (happened to me just yesterday, thanks, Emma), have a few marshmallows handy. They’ll lose their mind with excitement, and you’ll be able to finish those waffles without a side of tears.
- Now’s the perfect time to pour that glass of red wine—we’re not judges here. Just make sure it’s not the last of the bottle, or we both know you’ll end up juggling waffles and an empty glass during dinner.
Ingredients List
Here’s what you’re gonna need, along with a few personal notes to keep it real:
- 1 cup all-purpose flour (I generally use whatever’s on sale, so no fancy brands here)
- 1/3 cup unsweetened cocoa powder (Give it a good stir before measuring; it tends to clump like my teenager’s laundry!)
- 1 cup granulated sugar (If you can believe it, I sometimes forget this part. Not fun)
- 1/4 tsp salt (I go sea salt for that extra zing, but table salt works just fine)
- 1 tsp baking powder (To make ‘em puff like my hopes on a good hair day)
- 1/2 cup melted butter (I’ve been known to brush some on the waffle maker for extra flavour—so good!)
- 2 large eggs (But let’s not crack them into the batter all willy-nilly, okay? We want those bad boys in one piece)
- 1 tsp vanilla extract (I use Nielsen-Massey because I’m a little fancy sometimes, but any vanilla will suffice)
- 1/2 cup chocolate chips (Trust me—I eat them straight from the bag while the batter’s mixing. Don’t judge)
Step-by-Step Instructions
Now let’s get this show on the road. Don your apron or what I like to call my “kitchen shield,” and let’s make this happen.
Step 1: Gather & Prep
Practical Instruction: Preheat your waffle maker according to its instructions. This part’s crucial, or you’ll get sad, soggy waffles!
Why This Step Matters: Getting that waffle maker hot means you end up with crispy edges and a gooey inside—even if you’re still half-asleep.
Anecdote: I once completely missed this step, and let’s just say the waffles looked more like sad pancakes. Let’s not revisit that trauma.
Step 2: Combine Dry Ingredients
Practical Instruction: In a large bowl, mix together the flour, cocoa powder, sugar, salt, and baking powder.
Common Mistake: People forget to whisk the dry ingredients properly, and that leaves you with lumps of cocoa. No thank you.
My Personal Hack: Use a sifter if you have one; it’s not just for show!
Step 3: Mix the Wet Ingredients
Practical Instruction: In another bowl, whisk together the melted butter, eggs, and vanilla extract until combined.
The Sensory Cue: You’ll know it’s ready when it smells like cookie dough in your kitchen.
Anecdote: My husband, Dave, insists that the batter should always be “managed” to keep it from sticking to the whisk. But honestly, I think he just loves the smell.
Step 4: Marry the Mixtures
Practical Instruction: Pour the wet mixture into the dry mixture, and stir to combine. Don’t overmix!
Common Mistake: Everyone loves an overachiever, but leave those lumps! They melt into the best fudginess.
If You’re Multi-tasking: Go ahead and toss in those chocolate chips now so they can soak up some magical brownie goodness while the batter rests.
Step 5: Cook the Waffles
Practical Instruction: Lightly grease the waffle iron and ladle in the batter.
Why This Step Matters: If you can smell it, chances are it’s about to get good!
Anecdote: This is the moment when Emma dances around me, chanting, “Chocolate, chocolate.” I couldn’t agree more, kid.
Step 6: Nathan’s Waffle Tip
Practical Instruction: Cook according to the maker’s instructions. Usually, about 3–5 minutes.
Common Mistake: Don’t peek too soon! You’ll let heat escape, and your waffles may end up soggier than a British summer day.
If it goes south: If you find yourself with burnt edges, sprinkle some powdered sugar on top and call it “chaos chic.”
Step 7: Serve & Enjoy
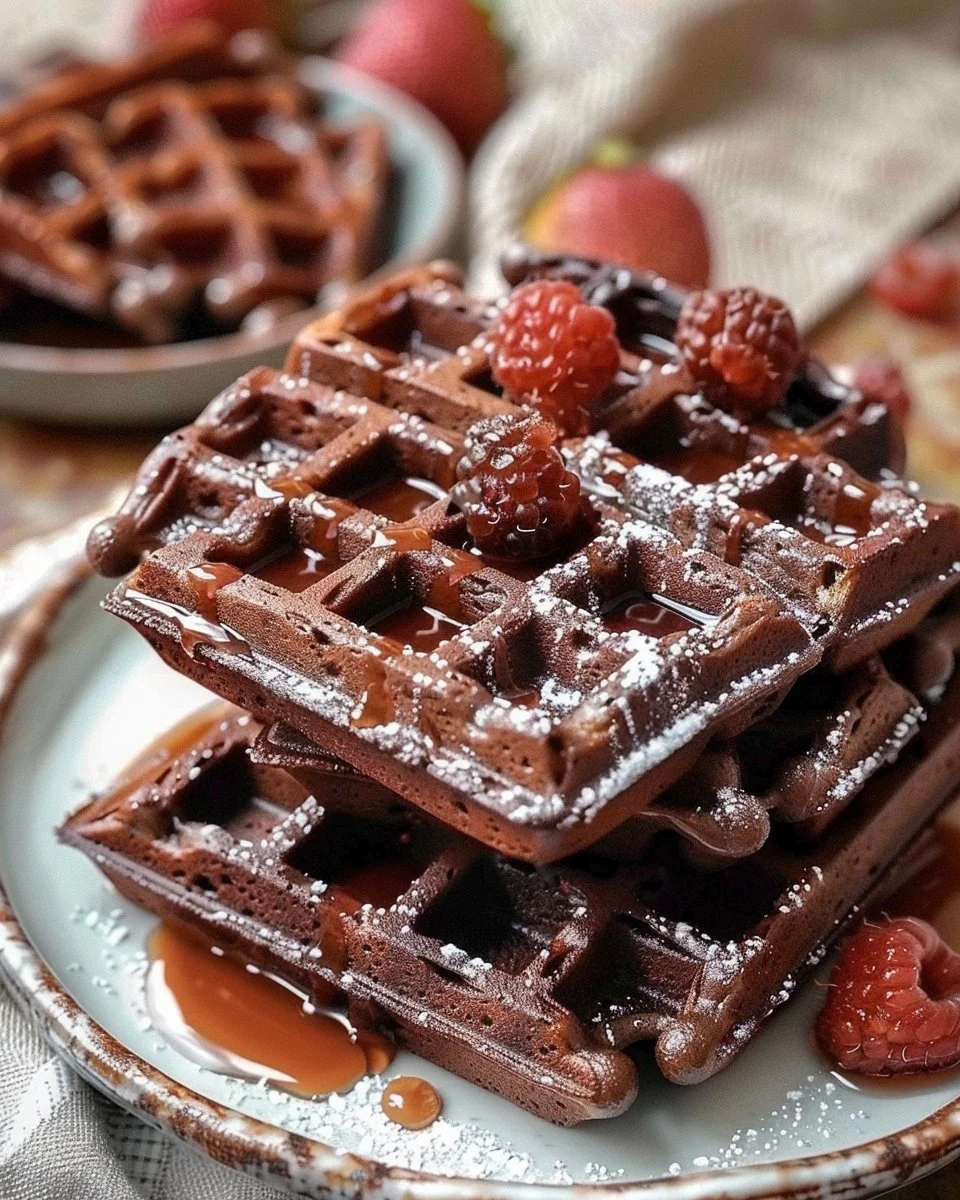
Practical Instruction: Carefully remove the waffles and stack them on a plate. Top with whatever your heart desires—more chocolate chips, whipped cream, or even fruits if you’re feeling fuzzy about health.
How to Serve with Personality: I’m a fan of drizzling a bit of maple syrup on top, but honestly? Sometimes I just go in straight from the plate like I’m in some sort of brownie scene from my dreams.
Troubleshooting Real Life
Alright, if you make these and something goes wildly off-track, don’t sweat it. Here are a few fixes:
- If you burn the bottom: Here’s a tip—scrape off the burnt bits gently and turn them into a brownie sundae. No one will feel bad about a little ice cream up in there.
- If you’re out of chocolate chips: Chopped nuts do nicely, or you can even throw in a touch of peanut butter swirled on top of the batter before cooking.
- If it’s just not working: Honestly, there’s no shame in grabbing a tub of ice cream. Every now and then, life deserves a dessert detour.
The Serving Story
When I serve these is pretty much the best moment of the week. Sunday brunch feels official when these fudgy brownie waffles are stacked high on a colourful plate. Sure, it looks fancy, but that’s just for show. Most of the time, it’s all enjoyed while wearing our comfy slippers on the couch—because let’s face it, those are the best seats in the house.
And leftovers? They taste even better because they thicken up in the fridge. Just pop ’em in the toaster for a quick morning win!
When I Make This
So, when do I whip these out? Usually on a lazy Sunday or when I’ve had one too many meetings in a week. It feels like self-care to treat yourself to something homemade yet indulgent. While they cook, I scroll through my phone and procrastinate doing laundry. That pile? It’s forever looming, let’s be real.
Most days, we sit around the table—a bit messy, but isn’t that life? The cleanup usually takes a solid half-hour, but honestly, good company makes the mess worth it.
The Conversational Close
This fudgy brownie waffle recipe has been through it all with me—a Sunday brunch regular, a midnight snack hero, and even a last-minute party dish. It might not win any Michelin stars, but it’s my go-to for a sweet, heartfelt treat. I’d love to hear what you think if you give it a shot—tag me in your photos, or just keep it quiet and enjoy your chocolatey delight.
And seriously, what’s your go-to comfort food? Mine changes often, but these thick beauties are a classic. ici – now I’m off to grab a serious piece of chocolate right now. Cheers until next time!

Fudgy Brownie Waffles
Ingredients
Method
- Preheat your waffle maker according to its instructions.
- In a large bowl, mix together the flour, cocoa powder, sugar, salt, and baking powder.
- In another bowl, whisk together the melted butter, eggs, and vanilla extract until combined.
- Pour the wet mixture into the dry mixture, and stir to combine. Do not overmix!
- Add in chocolate chips while the batter rests.
- Lightly grease the waffle iron and ladle in the batter.
- Cook according to the maker’s instructions, usually about 3–5 minutes.
- Carefully remove the waffles and stack them on a plate. Top with desired toppings like chocolate chips, whipped cream, or fruits.