
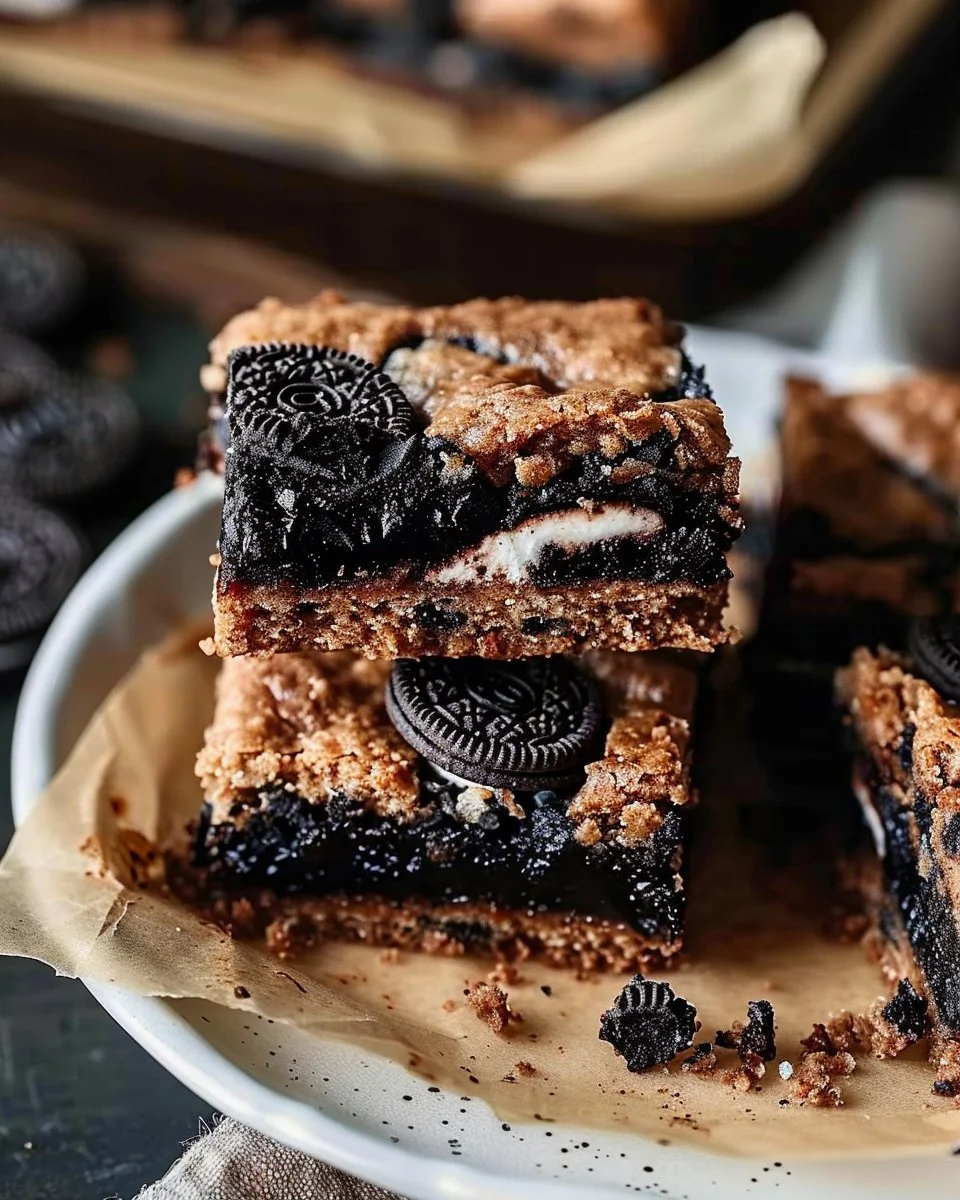
The Oreo Brookies Bars You’ve Been Waiting For: A Tale of Sweet Survival
The first time I tried to make Oreo Brookies Bars, it was a disaster so grand, my family still chuckles about it. Picture me, an enthusiastic but somewhat frazzled home cook, wrestling with a stack of cookies and brownies like they were sentient beings seeking revenge. I had my son perched on a stool beside me, asking if we could just go buy cookies instead. (Trust me, the kid was onto something.) Flour coated my hair like a badge of honour, and chocolate melted down my arms. My husband, bless him, walked into what can only be described as my personal war zone, glanced at the sugary carnage, and said, “When in doubt, add more butter.” That one hilarious line? It changed everything. That was three years ago, and now, instead of tears, I whip up these luxurious bars whenever I want to win over guests or treat myself during another Netflix binge session. Let me save you from that initial catastrophe.
Why This Matters
These Oreo Brookies Bars aren’t just a tasty treat; they’re the kind of dessert that says, “I see you, and I appreciate you,” without any of the overly sentimental fuss. You know those days when you’re too tired to think but desperately need chocolate therapy? This is your answer, my friend. And if you’re trying to impress someone without spending half your paycheck at a restaurant? Yep, these bars are the way to go. They’ll leave your friends asking for your secret, while you can just smile and say, “It’s just a little something I whipped up.” Because really, who needs to know it took you less than an hour, right?
Before You Start
- If your pantry is missing an essential ingredient, don’t sweat it! You can swap out regular Oreo cookies for any chocolate cookie you can find. The world won’t end.
- The only tool you absolutely need for this recipe is a sturdy 9×13-inch baking pan. Trust me, you want the bars to have room to spread out nicely.
- Here’s a little secret from my experience: always keep a stash of brownie mix on hand. Running short on time? Use it as a base and throw in the Oreos—nobody has to know.
- And if your toddler starts melting down during the brownie layer (been there, done that), just toss in some chocolate chips—they’ll be so focused on the sweet goodness, you can stealthily finish without accusations of fraud!
Ingredients
- 1 box of brownie mix (I’ve used Ghirardelli for a fudgy hit, but feel free to grab whatever’s in your cupboard.)
- Ingredients needed for the brownie mix (Check the box; usually, this means eggs, oil, and water. Simple!)
- 1 package of Oreo cookies (Regular, double stuff, whatever you fancy—more stuffing equals more joy in my book!)
- 1 cup of cookie dough (I usually grab the pre-made stuff from Toll House; it’s glorious and saves time.)
- Chopped nuts, optional (I like pecans, but you do you—everyone deserves their quirks.)
Step-by-Step Instructions
Step 1: Prepare the Brownies
Okay, let’s be real. Preheat your oven to 350°F (or about 175°C, depending on where you are). While that’s warming up, grab your box of brownie mix. You know, the one that’s been chilling in the cupboard since the last baking spree? You’ll usually need to mix together the brownie mix, water, eggs, and oil in a bowl.
Why this step matters: The moisture from the eggs and oil is key to creating that fudgy texture we’re after.
Common mistake here: Don’t skimp on the mixing. You want a nice, smooth batter. If your batter looks like it has lumps? Give it another good stir. You don’t want surprise dry bits in your bars!
Step 2: Layering the Brownies
Grab your 9×13 pan—spray it lightly with cooking spray or line it with parchment paper for easy removal. Pour half of the brownie batter into the base.
My personal hack: I like to use the back of a spatula to even it out. You want a layer that’s about half an inch thick, and for the love of all things chocolate, don’t pour it all in, or you won’t have room for the cookies!
Step 3: The Oreo Overload
Now comes the fun part: layer those Oreos on top like you’re building a sweet fortress. Take a moment to feel like a pastry genius—go ahead, I won’t judge.
You’ll feel like a badass when you’re stuffing those Oreos in there, but don’t squeeze them too tight. They need room to shine.
Step 4: Bake the Brownies
Pour the rest of the brownie mixture on top of the Oreos. Trust the process! I know, it looks like a bit of a hot mess right now, but it will pay off—I promise.
Pop the pan in the oven and bake for about 20 to 25 minutes. You’ll know they’re done when a toothpick comes out with a few moist crumbs clinging to it but not wet batter. If you go for it and find it a bit gooey—don’t panic! You want that ooey-gooey-ness. The last thing you want is a dry brookie.
Step 5: Cookie Dough Delight
Okay, here’s the kicker: as those beauties are baking, take your cookie dough and plop spoonfuls all over the top of the brownie layer. It’s like icing on an already sweet cake—totally unnecessary but entirely satisfying.
Pro tip: you can do this step after the brownies have cooled a bit. It’s basically a little cookie dough cocoon around the warm brownies.
Step 6: Cooling Time
Let it cool completely. The patience part? That’s the hardest. But seriously, a warm brookie is delightful, but you want them to set up nicely. And let’s face it, burnt tongues are no one’s friend.
My grandma used to say warmth makes everything better. And she was kind of right—except for this. Trust me on this one.
Troubleshooting Real Life
If you over-bake it and notice the edges are getting too crispy: this is where patience comes in. If they start to burn, don’t scrape it off—you can layer chocolate chips on top once they’re out of the oven.
If you’re out of Oreos or cookie dough—just use whatever cookie you have! A chocolate chip, a Nutella stuffed… literally whatever. The worst that can happen is you create a new family favourite.
If the kids descend onto the kitchen after the first whiff of chocolate and start screaming, “Mooooom!” just let them lick the spoon and take a breath. You got this.
Serving it Up
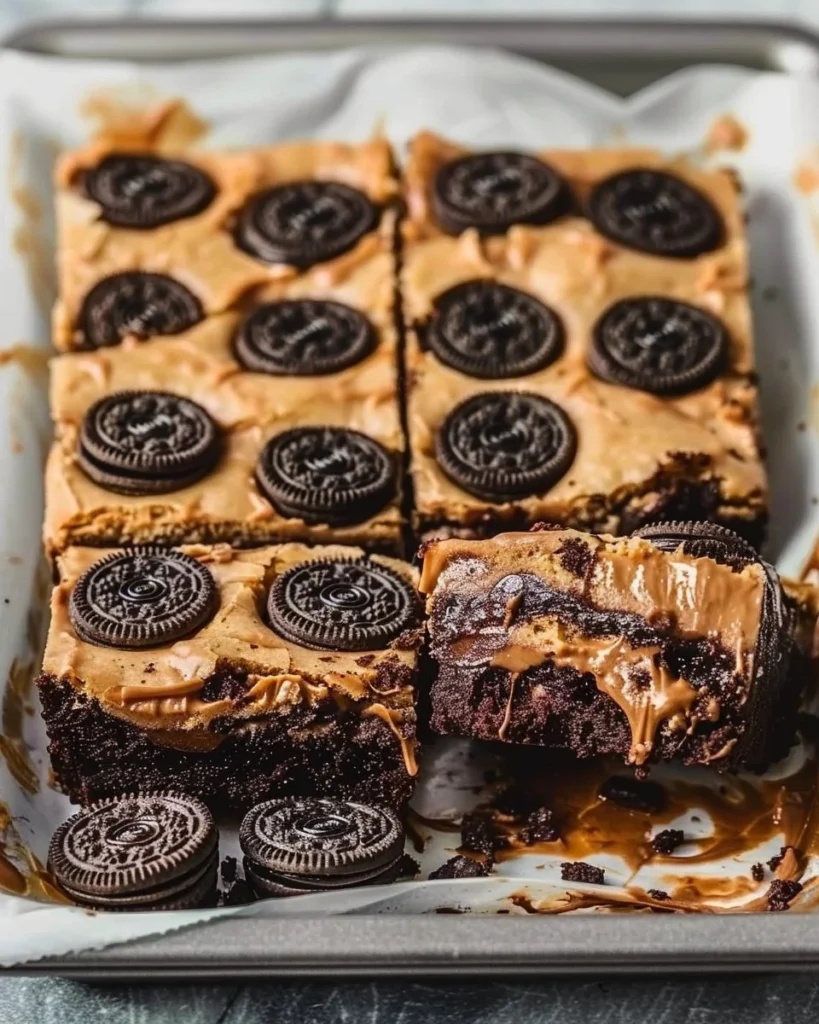
The best way to serve these bars? Right out of the pan. Seriously, that rustic charm says, "I’m laid back, but look at this chocolate masterpiece." I have these fun little patterned bowls that I trot out when I want to impress guests, but let’s be honest, most of the time, we devour them straight from the baking dish while huddled around the TV bingeing on a bad reality show.
And leftovers? They taste even better the next day because that cookie dough settles beautifully into the brownie texture. You can even pop them in the microwave for a few seconds if you’re feeling wild.
When I Make This
I usually whip these up on a Sunday afternoon. Why? Because that’s when I need something sweet to look forward to during the soul-crushing dread of Monday. I whip these cream-filled bars while blasting old-school rock and roll. The chaos of the kitchen? It strangely brings me peace.
While they’re baking, I often sneak a moment to catch up on laundry, or maybe I call my friend Sarah who always has the latest gossip. (Can we talk about how thrilling those random updates are?!) We indulge in the sweet anticipation; oh, the chocolatey goodness we’re going to enjoy together!
The cleanup? It usually takes about 15 minutes, but the laughter and good vibes are totally worth it. I find myself mumbling things like, “Next time, I’ll be a clean freak,” but let’s be real, I’ll still be using that Smart Price chocolate because flour is too expensive these days.
The Conversational Close
You know what’s funny? This recipe has seen our family through big events and quiet evenings alike. It’s been our go-to birthday treat, a last-minute pick-me-up, and a secret weapon against Monday blues. Maybe we don’t always get it right, but it’s perfect for us.
I’d love to hear if you make it—tag me in your kitchen adventures, or just enjoy it quietly. What’s your go-to comfort food? Mine, like life, changes frequently—sometimes it’s this. Sometimes it’s ice cream right out of the tub. Let’s not judge, alright? Sometimes life just calls for a spoon and a little indulgence.
You take care, and let those Oreo Brookies Bars work their magic in your kitchen!
Oreo Brookies Bars
Ingredients
Method
- Preheat your oven to 350°F (or about 175°C).
- In a bowl, combine the brownie mix, water, eggs, and oil until the batter is smooth.
- Spray a 9×13 pan with cooking spray or line it with parchment paper.
- Pour half of the brownie batter into the base of the pan, spreading it evenly to about half an inch thick.
- Layer the Oreos on top of the brownie layer without squeezing them tightly.
- Pour the remaining brownie batter on top of the Oreos.
- Bake for 20 to 25 minutes, until a toothpick comes out with a few moist crumbs.
- Spoon dollops of cookie dough on top of the brownie layer as it bakes.
- You can add the cookie dough after the brownies have cooled slightly for a better result.
- Allow the bars to cool completely before cutting.