
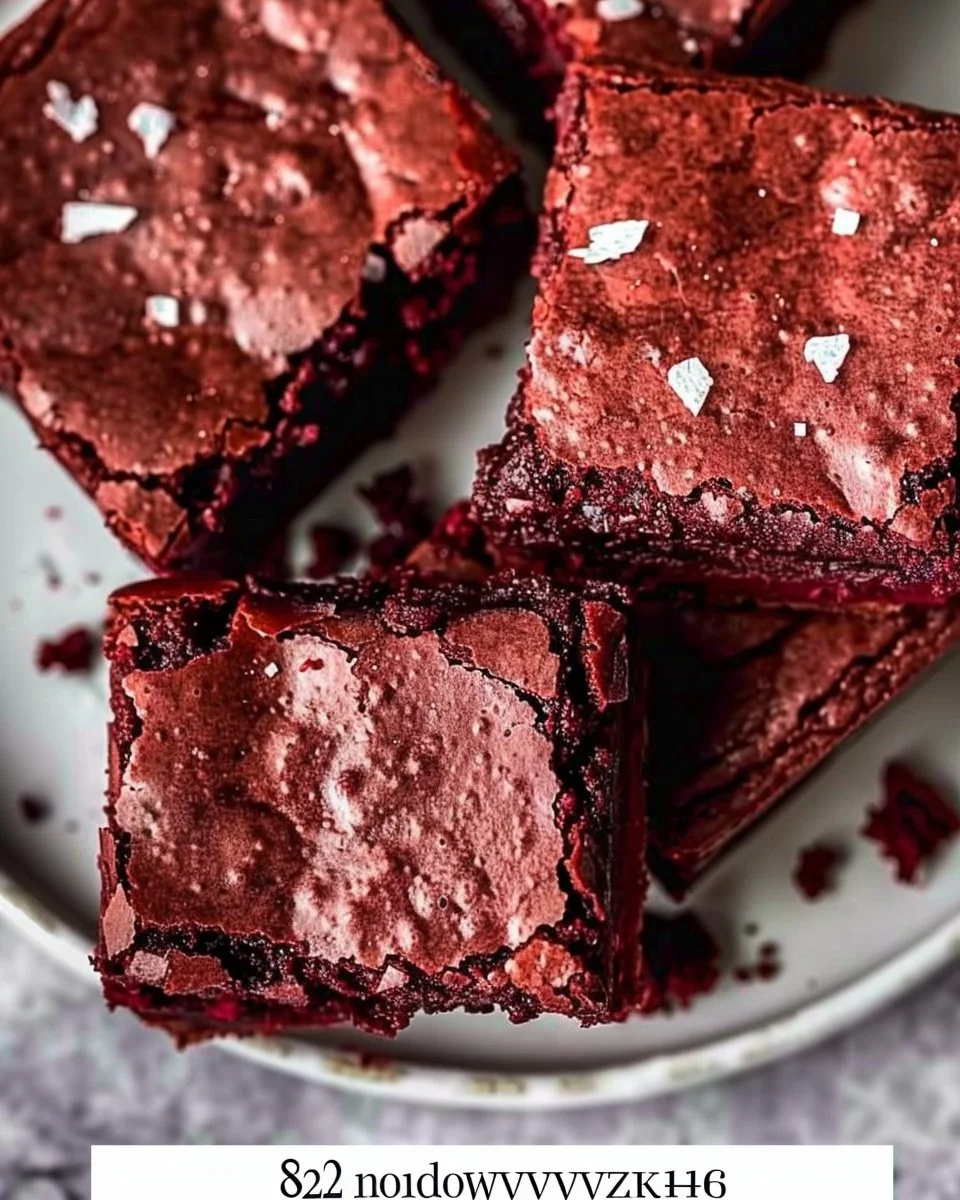
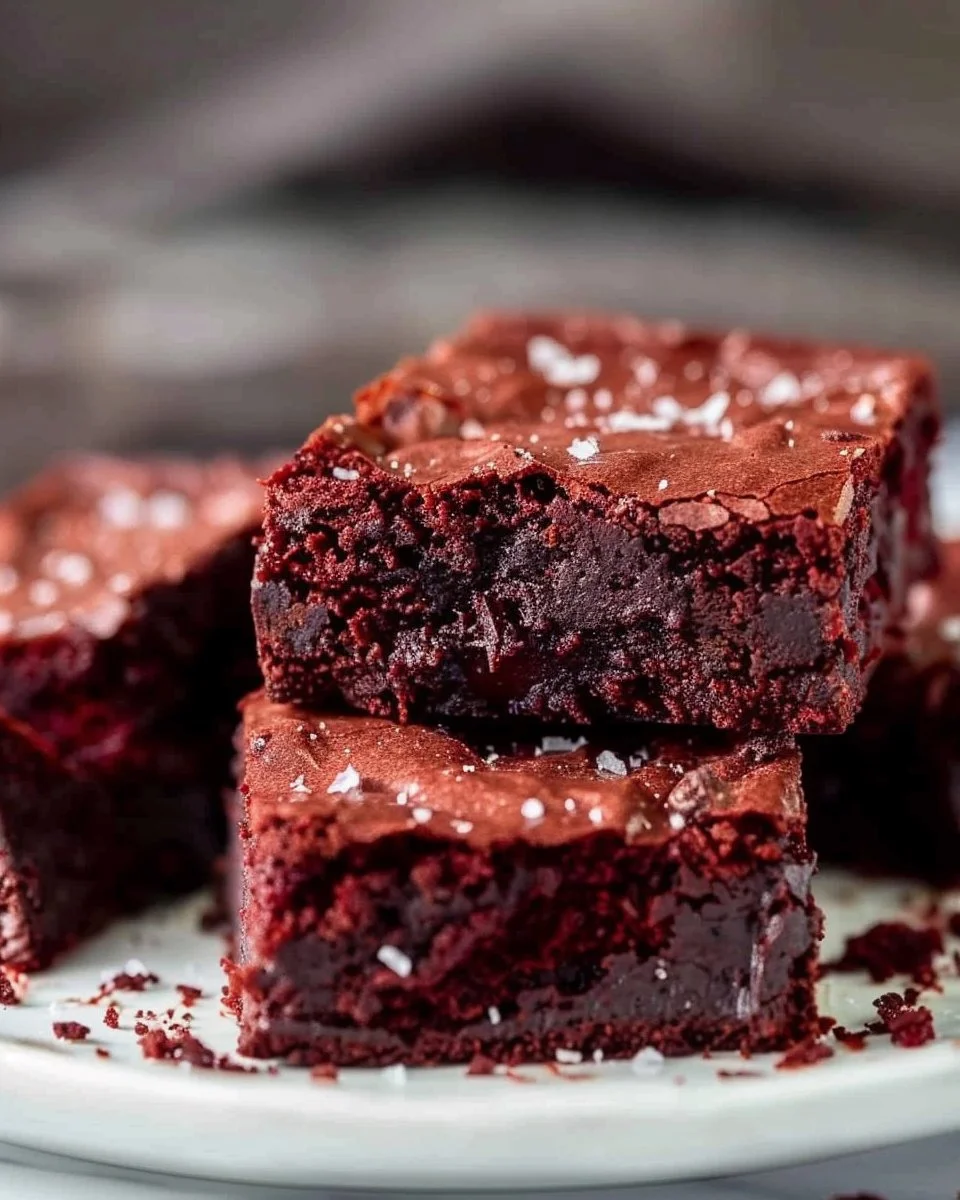
Red Velvet Brownies: A Cozy Touch of Comfort
The first time I tried to make Red Velvet Brownies, I ended up with a kitchen disaster that would make even the most seasoned bakers shudder. Seriously, I’m telling you, flour was everywhere. I inadvertently created a flour cloud that may or may not have inspired some of my neighbours to call in the Air Quality Control. That moment of pure chaos was punctuated by a loud clang as I dropped my beloved mixing bowl on the floor, splattering batter across my newly painted kitchen wall. My daughter, Ellie, walked in, surveyed the scene, and I swear, she could barely suppress a laugh. “Mom, I think it’s time to order takeout.”
Fast forward a few years, and now this recipe has evolved into a cherished family favourite that I whip up during chilly autumn nights or when we need a little pick-me-up after a long week. The thing about these Red Velvet Brownies is they’re not just dessert; they’re an experience. They say, “I love you” with a side of rich, fudgy chocolate goodness. So if you’ve ever felt like your baking skills are subpar (trust me, we’ve all been there), I’m here to help you tackle this recipe without turning your kitchen into a war zone.
Why This Matters: More Than Just Brownies
Okay, let’s be real for a moment. There are days when life feels a bit too heavy—work stress, school runs, or just the overall chaos of modern living. And let’s face it, who hasn’t had those days that seem to spiral out of control? That’s when I reach for this recipe. It’s what I bake when I need comfort, a quick win in the kitchen, or simply a treat to share (or not).
These brownies are decadently rich yet soft, and they have that pop of red that can brighten the worst of days. When my best friend Sarah swings by unexpectedly, brownie cravings often lead to late-night chats over warm brownies topped with vanilla ice cream while some good old Netflix plays in the background. In short, these are not just brownies; they’re what will save your sanity when everything else goes wrong.
Before You Start: Simple Tips for Success
- Have a messy kitchen? Use a large bowl to avoid the dreaded flour cloud (trust me on this one).
- No buttermilk? Simply mix a tablespoon of lemon juice or vinegar with milk—it’ll give you the same tangy goodness.
- Short on time? You can prepare the brownie batter ahead of time and store it in the fridge overnight. Trust me, it’ll be even fudgier the next day.
- Kids not cooperating? Let them stir in the food colouring. It’ll keep them busy and entertained—definitely a win-win in my household.
The Ingredients List (with Personal Notes)
- 1 cup unsalted butter (I use good old Tesco butter—because don’t skimp on quality, right?)
- 2 cups granulated sugar (If you like it sweeter, go ahead and add a bit more.)
- 4 large eggs (I get mine from a local farm, and they taste so much better.)
- 1 teaspoon vanilla extract (Using a good quality one makes a difference.)
- 2 ½ cups all-purpose flour (Just don’t forget to sift it—otherwise you’ll end up with those pesky lumps.)
- 1 cup unsweetened cocoa powder (Dutch-process works wonders here, but whatever you’ve got is fine.)
- 1 teaspoon baking soda (Always check the date; expired baking soda is like sending your brownies to a funeral.)
- 1 teaspoon salt (I use sea salt because my grandma swore by it.)
- 1 tablespoon of red food colouring (Trust me, don’t skip this or they’ll just be chocolate brownies—unless that’s your vibe.)
- 1 teaspoon white vinegar (A little secret from my baking adventures—this helps the brownies rise just the right amount.)
- 1 cup chopped walnuts or chocolate chips (optional, but I like the extra crunch.)
Step by Step: Making the Brownies
Step 1: Preheat the Oven
Preheat your oven to 350°F (or 175°C, if you’re feeling international).
Why this matters: This ensures that your brownies bake evenly. If you throw your mix into a cold oven, it’ll mess up the texture—nobody likes a sad brownie.
Common mistake: Forgetting this step—I’ve done it more times than I’d like to admit.
Personal hack: While you’re waiting, line your baking dish with parchment paper. It makes the brownies easier to lift out later on, and nobody likes a brownie that’s stuck.
Step 2: Melt the Butter
In a saucepan, melt the butter over low heat. No need to scorch it—just enough to turn it into a lovely, melted pool of buttery goodness.
The sensory cue: You’ll know it’s ready when it’s bubbly but not burnt.
Anecdote: My husband, Peter, loves to watch this part. It reminds him of making popcorn as a kid. When I say “butter”, there’s always an enthusiastic nod from him!
Step 3: Mix the Sugar and Eggs
In a mixing bowl, whisk the melted butter with sugar until well combined. Then, add the eggs, one at a time, beating well after each addition. Toss in the vanilla extract for that lovely aroma.
Why this step matters: This is what creates that fudgy, moist texture you yearn for.
Common mistake: Overmixing here will lead to tough brownies. Gently mix until combined.
Step 4: Add the Dry Ingredients
Sift the flour, cocoa powder, baking soda, and salt over the wet mix. Slowly fold it using a spatula until just combined. Don’t be alarmed if it looks a bit thick; that’s normal.
My personal hack: Use the spatula in a figure-eight motion—less workout than vigorous mixing, and you’ll end up with the same results.
Step 5: The Secret Ingredient: Colour
Stir in the red food colouring and vinegar. You want a deep red hue that’ll turn heads.
Why this step matters: The vinegar interacts with the baking soda to ensure a soft texture and that classic red velvet look.
Anecdote: The first time Ellie helped with this part, she ended up with more on her hands than in the bowl. We still laugh about that.
Step 6: Pour and Bake
Pour the brownie mixture into a prepared baking dish and spread it evenly. Bake for about 25-30 minutes.
Common mistake: Overbaking can lead to dry brownies. Start checking around 25 minutes. You want that toothpick to come out with a few moist crumbs.
If you need to pause: If the doorbell rings or a toddler throws a tantrum, just turn off the oven and leave the brownies in there. They’ll stay warm and continue to cook a bit.
Step 7: Cool and Slice
Once baked, let the brownies cool in the pan for 10-15 minutes before transferring them to a wire rack.
The serving story: I usually serve these cut into squares on a simple white plate. There’s something about that contrast that makes them pop. And honestly? Sometimes we just grab them right from the pan while standing in the kitchen like the classy folks we are.
Troubleshooting Real Life: What Could Go Wrong
-
If you burn the bottom: You can salvage them a bit. Use a serrated knife to cut off any burnt edges, and remember the chocolate icing will cover a multitude of sins.
-
If you’re out of red food colouring: Don’t panic. Just use a bit of beet juice for the red colour (it does work, and you’d be surprised).
-
If it’s just not working: Quick advice—leave it be. Walk away, have a cup of tea, and then come back. You might find it’s perfectly fine after a moment.
When I Make This: A Slice of Life
I usually make these Red Velvet Brownies on a dreary Sunday evening when the weather is feeling particularly ‘stay-in-and-bake’. While they’re in the oven, I multitask—maybe I’ll fold laundry or catch up on that show I’m hooked on. The scent of chocolate and vanilla wafts through the house, bringing everyone to the kitchen like moths to a flame.
We eat them at the coffee table, huddled under blankets, with a good movie playing in the background. Cleanup takes around 15 minutes, but it’s worth it every time.
The Conversational Close
This recipe has seen me through many a rainy day, spurred late-night discussions, and once, an impromptu family birthday celebration when I forgot to get a cake. It’s not about perfection; it’s about creating memories with every bite.
So if you try this recipe (and I really hope you do), tag me or just enjoy the quiet delight of a brownie fresh from your own oven. What’s your go-to comfort food? Mine changes with the seasons, but right now, it’s definitely these Red Velvet Brownies.
Maybe I’ll even save you a corner piece—maybe.

Red Velvet Brownies
Ingredients
Method
- Preheat your oven to 350°F (175°C). Line your baking dish with parchment paper.
- Melt the butter in a saucepan over low heat.
- In a mixing bowl, whisk together the melted butter and sugar until well combined. Add eggs one at a time, mixing well after each addition, then stir in vanilla.
- Sift the flour, cocoa powder, baking soda, and salt over the wet mixture and gently fold until just combined.
- Stir in the red food colouring and vinegar until blended.
- Pour the brownie mixture into the prepared baking dish.
- Bake for 25-30 minutes, checking around 25 minutes for doneness with a toothpick.
- Allow the brownies to cool in the pan for 10-15 minutes before transferring to a wire rack.