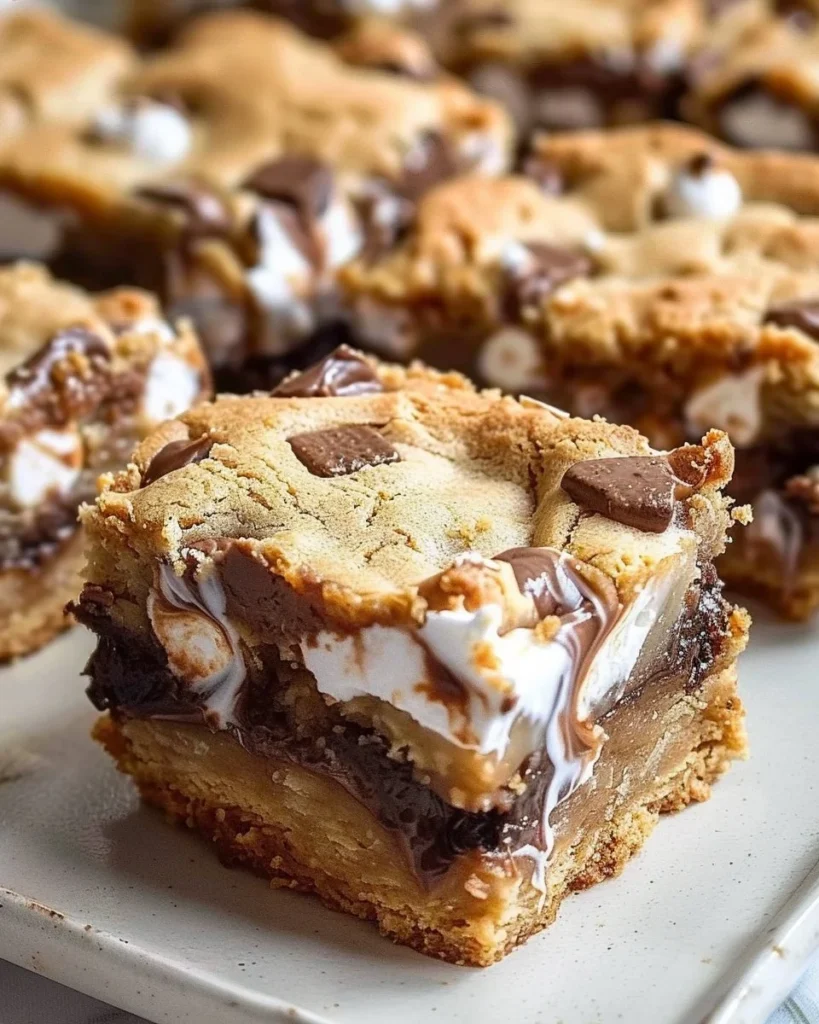
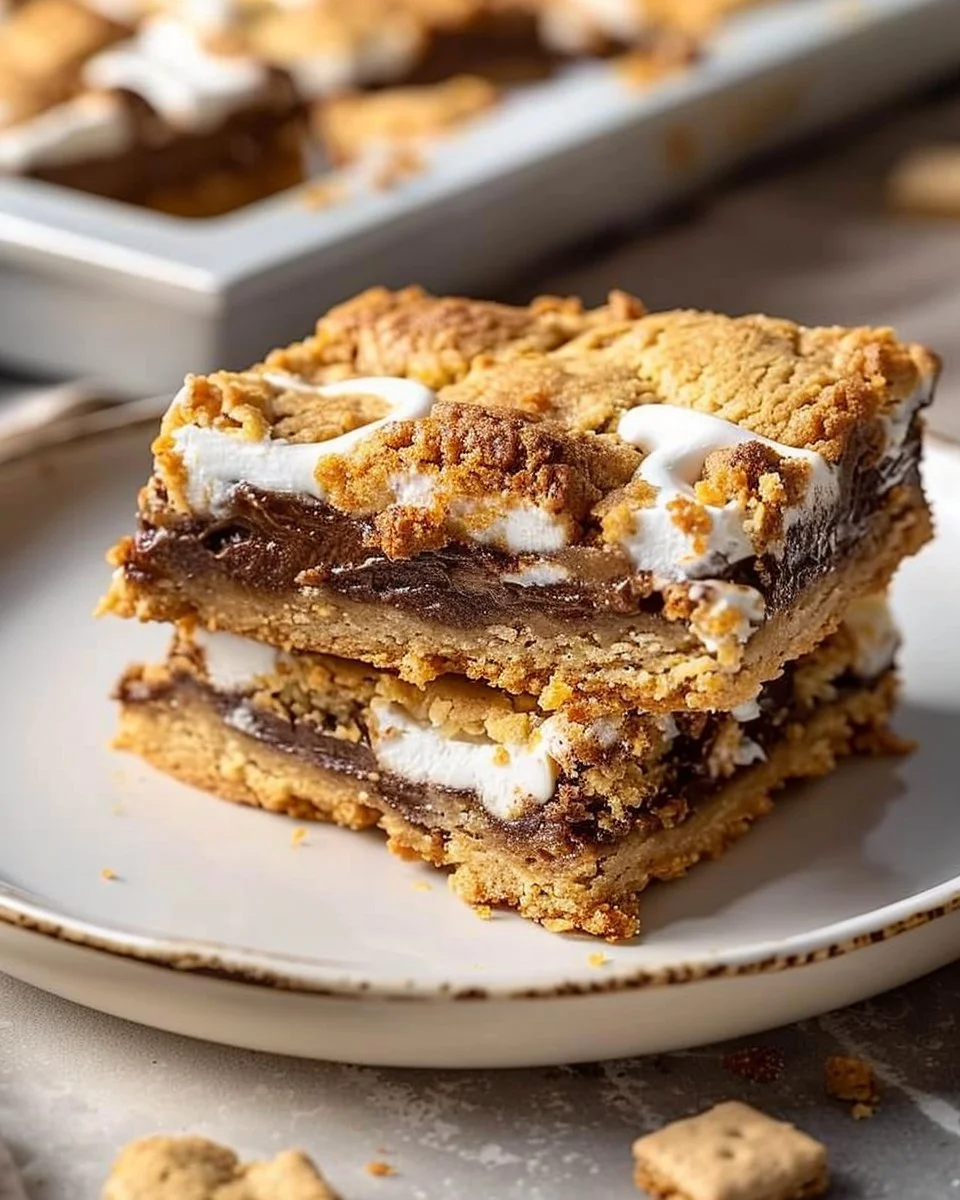
S’mores Cookie Bars: The Ultimate Sweet Treat for Chaotic Days
The first time I tried to make S’mores Cookie Bars, I ended up with what looked like a concrete slab. Seriously, my husband Carl walked in and looked at my pan like I’d just painted the kitchen walls with chocolate. "What is that?" he asked, half-laughing and half-concerned. I think I mumbled something like, “It’s supposed to be gooey and delicious!” as I mourned my baking dreams. But let me tell you, it was a disaster straight out of a sitcom—and maybe not the funny kind.
Fast forward a few years, and now, on particularly chaotic days, these bars are my go-to. After dealing with a toddler meltdown and then losing a battle against a mountain of laundry—I whip out this magical recipe. Trust me on this: when you need a hug in dessert form, S’mores Cookie Bars not only appease that sweet tooth but can also save your sanity.
Why This Matters
Here’s the thing: S’mores Cookie Bars exist for days when life is just… a lot. Whether you’re drowning in emails or trying to remember what’s for dinner while the kids are arguing over the TV remote, this recipe gets it. It’s not just about food; it’s about creating moments that bring you back to simpler, sweeter times. You know those nights when you’re too exhausted to celebrate anything — this bar is your silent cheerleader, shouting, “You did it today! Here’s a treat!”
And let me tell you, they also make killer snacks for school lunches—a unique twist that the kids (and their friends) will definitely appreciate. Okay, let’s be real, school is back in session, and packing a little joy makes everything easier, right?
Before You Start
Before ripping into the ingredients, let’s cover a few quick tips to save your sanity:
- If you’re out of graham crackers, I sometimes use digestive biscuits. It’s not traditional, but it works, and nobody complains about the taste.
- The only pan you’ll need is a rectangular one—9×13 inches works wonders. I’ve tried smaller ones, and they just don’t cut it.
- Got a kiddo who’s melting down while you’re mixing? I’ve been there. Just give them a bowl with flour and sugar—trust me, they’ll be “helping” while actually making a magical mess.
- And honestly, a glass of wine (or two) while whipping this up doesn’t hurt. We’re grown-ups here, and there’s no shame in a little self-soothing while baking!
Ingredients
Here’s what you’ll need to tackle these delicious cookie bars—and why I love them:
- 1 cup butter, softened (Honestly, it’s probably the reason this whole recipe comes together so beautifully—who doesn’t love buttery goodness?)
- 1 cup granulated sugar (Not a health food, but it’s much better than crying over burnt offerings.)
- 1 cup brown sugar (The moistness really kicks up the flavour; treat yourself, okay?)
- 2 large eggs (This one’s gotta be fresh; trust me, I learned that the hard way.)
- 1 teaspoon vanilla extract (I always splash in a bit more because why not?)
- 3 cups all-purpose flour (I would call this my “default” flour, even if I sometimes get the fancy stuff.)
- 1 teaspoon baking soda (Make sure it’s not expired; I’ve made that mistake, and we won’t go into the details.)
- 1 teaspoon salt (I used sea salt for a bit of added depth.)
- 1 cup mini marshmallows (Giant marshmallows are fun, but these mix better.)
- 1 cup chocolate chips (I’m a fan of the semi-sweet kind, but you do you.)
- 1 cup crushed graham crackers (This part really brings the S’mores vibes!)
- Extra marshmallows and chocolate for topping (Because why not spoil ourselves?)
Step-by-Step with Stories
1. Preheat and Prep
-
Practical Instruction: Preheat your oven to 350°F (175°C). Grease your 9×13 pan or line it with parchment paper for easy removal later.
-
Human Insight: Preheating ensures even cooking, so don’t skip this step. I used to—never again, my friends.
-
Anecdote: I remember the first time I forgot to preheat the oven. Let’s just say that those cookie bars were the most temperamental snack I ever made. Lesson learned!
2. Cream the Butter and Sugars
-
Practical Instruction: In a large mixing bowl, cream together your softened butter, granulated sugar, and brown sugar until light and fluffy. About 2-3 minutes should do it.
-
Human Insight: This step is essential—it helps incorporate air into the mixture, leading to a lighter texture in the final product.
-
Anecdote: My sister Lydia always sings “Happy Birthday” to the butter while it’s creaming. She swears by it, and honestly, who am I to argue? I may have made a cake that way once… or it could have been an excuse to have her over. Hard to say!
3. Add the Eggs and Vanilla
-
Practical Instruction: Next, add the eggs one at a time, followed by the vanilla extract. Mix until well combined.
-
Human Insight: Adding eggs singly helps to emulsify better, creating a creamier batter. I didn’t care about learning this until I made a grainy mix that was a pure travesty.
-
Anecdote: My daughter Ella once wanted to crack the eggs. She did it with such gusto that half the eggshells ended up in the bowl. I didn’t really care because I was too enamoured by her excitement. We ended up fishing the shells out together while giggling.
4. Dry Ingredients
-
Practical Instruction: In another bowl, whisk together the flour, baking soda, and salt. Gradually add this mixture to the creamy mixture, stirring until just combined.
-
Human Insight: You want to be careful not to overmix here; otherwise, those cookies can turn into little bricks. And nobody wants a concrete snack, am I right?
-
Anecdote: I once took this step for granted and paid dearly for it. My kids dubbed those bars ‘a workout’ because you needed your teeth and possibly a hammer to get through them.
5. Add the Good Stuff
-
Practical Instruction: Fold in the chocolate chips, mini marshmallows, and crushed graham crackers until evenly distributed.
-
Human Insight: This is where the magic happens. You can literally taste the summer campfire vibes when you bite into them.
-
Anecdote: We always end up saving some chocolate chips for “decorating” on top later. I think my son Jake likes to sneak a few while I’m not looking—it’s a classic move.
6. Bake Those Bad Boys
-
Practical Instruction: Spread the mixture evenly into your prepared pan. Bake for about 25-30 minutes, or until the edges are golden brown and a toothpick comes out clean (well, mostly clean—there should be some gooeyness because this is S’mores, after all).
-
Human Insight: You’ll know they are done when your kitchen starts smelling like chocolate heaven, and your kids mysteriously find their way to the kitchen during baking.
-
Anecdote: My dog, Buster, has a sixth sense for when sweets are coming out of the oven. He’s like a fluffy shadow hanging around, giving those puppy eyes that could make anyone guilty.
7. Add Toppings and Finishing Touches
-
Practical Instruction: When the bars are pulling out of the oven, sprinkle extra marshmallows and chocolate on top, and pop them back in for an additional 5 minutes until the marshmallows are golden.
-
Human Insight: This step makes all the difference as it creates that lovely toasted marshmallow sensation—just like real S’mores!
-
Anecdote: I made the mistake of going a bit overboard once, and the bars turned into one gooey chocolatey mess. Never again; moderation is key, even with sweet toppings!
8. Let Cool and Cut
-
Practical Instruction: Allow the cookie bars to cool in the pan before cutting into squares.
-
Human Insight: If you’re super impatient like me, and you decide to cut ‘em while they’re still a bit warm, you’ll end up creating a messy disaster. But hey, that just means more cookie goodness to eat straight from the pan, right?
-
Anecdote: On those “just barely warm” days, my family digs in like it’s a free-for-all. I remember once I caught Jake practically diving into the pan. You’d think it was an Olympic sport the way he was diving headfirst.
Troubleshooting Real Life
-
If you burn the edges: No worries. Just cut off the burnt parts. Nobody needs to know. (Okay, maybe my husband because he’s a fan of “well-done,” but he can deal!)
-
If you’re out of eggs: Try replacing each egg with 1/4 cup of unsweetened applesauce. It’ll work, and you won’t even notice the difference, if I’m honest.
-
What if your kids don’t like marshmallows?: Just skip ‘em and double up on chocolate. Who can argue with that?
-
If life intervenes: If you need to pause the process because of a toddler meltdown or an unexpected phone call, don’t fret. Just cover the pan with a towel. It even allows it to stay warm for a while, so you can pick up right where you left off without a fuss.
Serving Story
I’m telling you, these bars are best served slightly warm, preferably out of the pan. It’s like eating a hug, and who doesn’t need that? Sometimes, I’ll grab a bit of whipped cream or even ice cream for the ultimate treat. Just don’t ask me how much chocolate sauce I drizzle over the top.
Cutting into squares can feel tedious, but trust me, it’s worth it when you see the gooey chocolate oozing out. I usually grab my square and plop down on the couch with a steaming cup of tea while the kids play, but if I’m feeling rebellious, we’ll sit at the kitchen island, gobbling them up together and creating a calorie guilt that we laugh about later.
When I Make This
I most often whip these up on a Sunday afternoon after a long week of routine and “Have you seen my shoes?” battles. It’s my escape plan, pure and simple. While they bake, I always find time to catch an episode of my latest binge-watch (maybe “The Great British Bake Off”, for inspiration).
The best part? After they’re done, I love to gather around the kitchen island with my family. We’ll sit, laugh, and maybe even dodge a chocolate fight sorted by “Who had the bigger piece?” The cleanup takes only about 10 minutes, provided I can get the kids to pitch in, but I always remind myself that this isn’t just about the bars—it’s about these little chaotic, wonderful moments of family time.
The Conversational Close
This recipe has seen me through the hectic school year, the sultry weeks of summer, and more chaotic weekends than I care to remember. I may never be a professional baker, and that’s okay. These S’mores Cookie Bars, flawed here and there, have a place in my heart—every messy bite reminding me that sometimes it’s not about perfection; it’s just about the sweet moments we create.
I’d love to hear if you make this! Tag me on social media or just enjoy it quietly. And hey, what’s your go-to comfort food? Mine changes, but right now, it’s undoubtably these cookie bars. 🥰

S'mores Cookie Bars
Ingredients
Method
- Preheat your oven to 350°F (175°C). Grease your 9x13 pan or line it with parchment paper for easy removal later.
- In a large mixing bowl, cream together your softened butter, granulated sugar, and brown sugar until light and fluffy, about 2-3 minutes.
- Add the eggs one at a time, followed by the vanilla extract. Mix until well combined.
- In another bowl, whisk together the flour, baking soda, and salt. Gradually add this mixture to the creamy mixture, stirring until just combined.
- Fold in the chocolate chips, mini marshmallows, and crushed graham crackers until evenly distributed.
- Spread the mixture evenly into your prepared pan. Bake for about 25-30 minutes, or until the edges are golden brown and a toothpick comes out clean (there should be some gooeyness).
- When the bars are almost done baking, sprinkle extra marshmallows and chocolate on top, and pop them back in for an additional 5 minutes until the marshmallows are golden.
- Allow the cookie bars to cool in the pan before cutting into squares. Serve slightly warm.